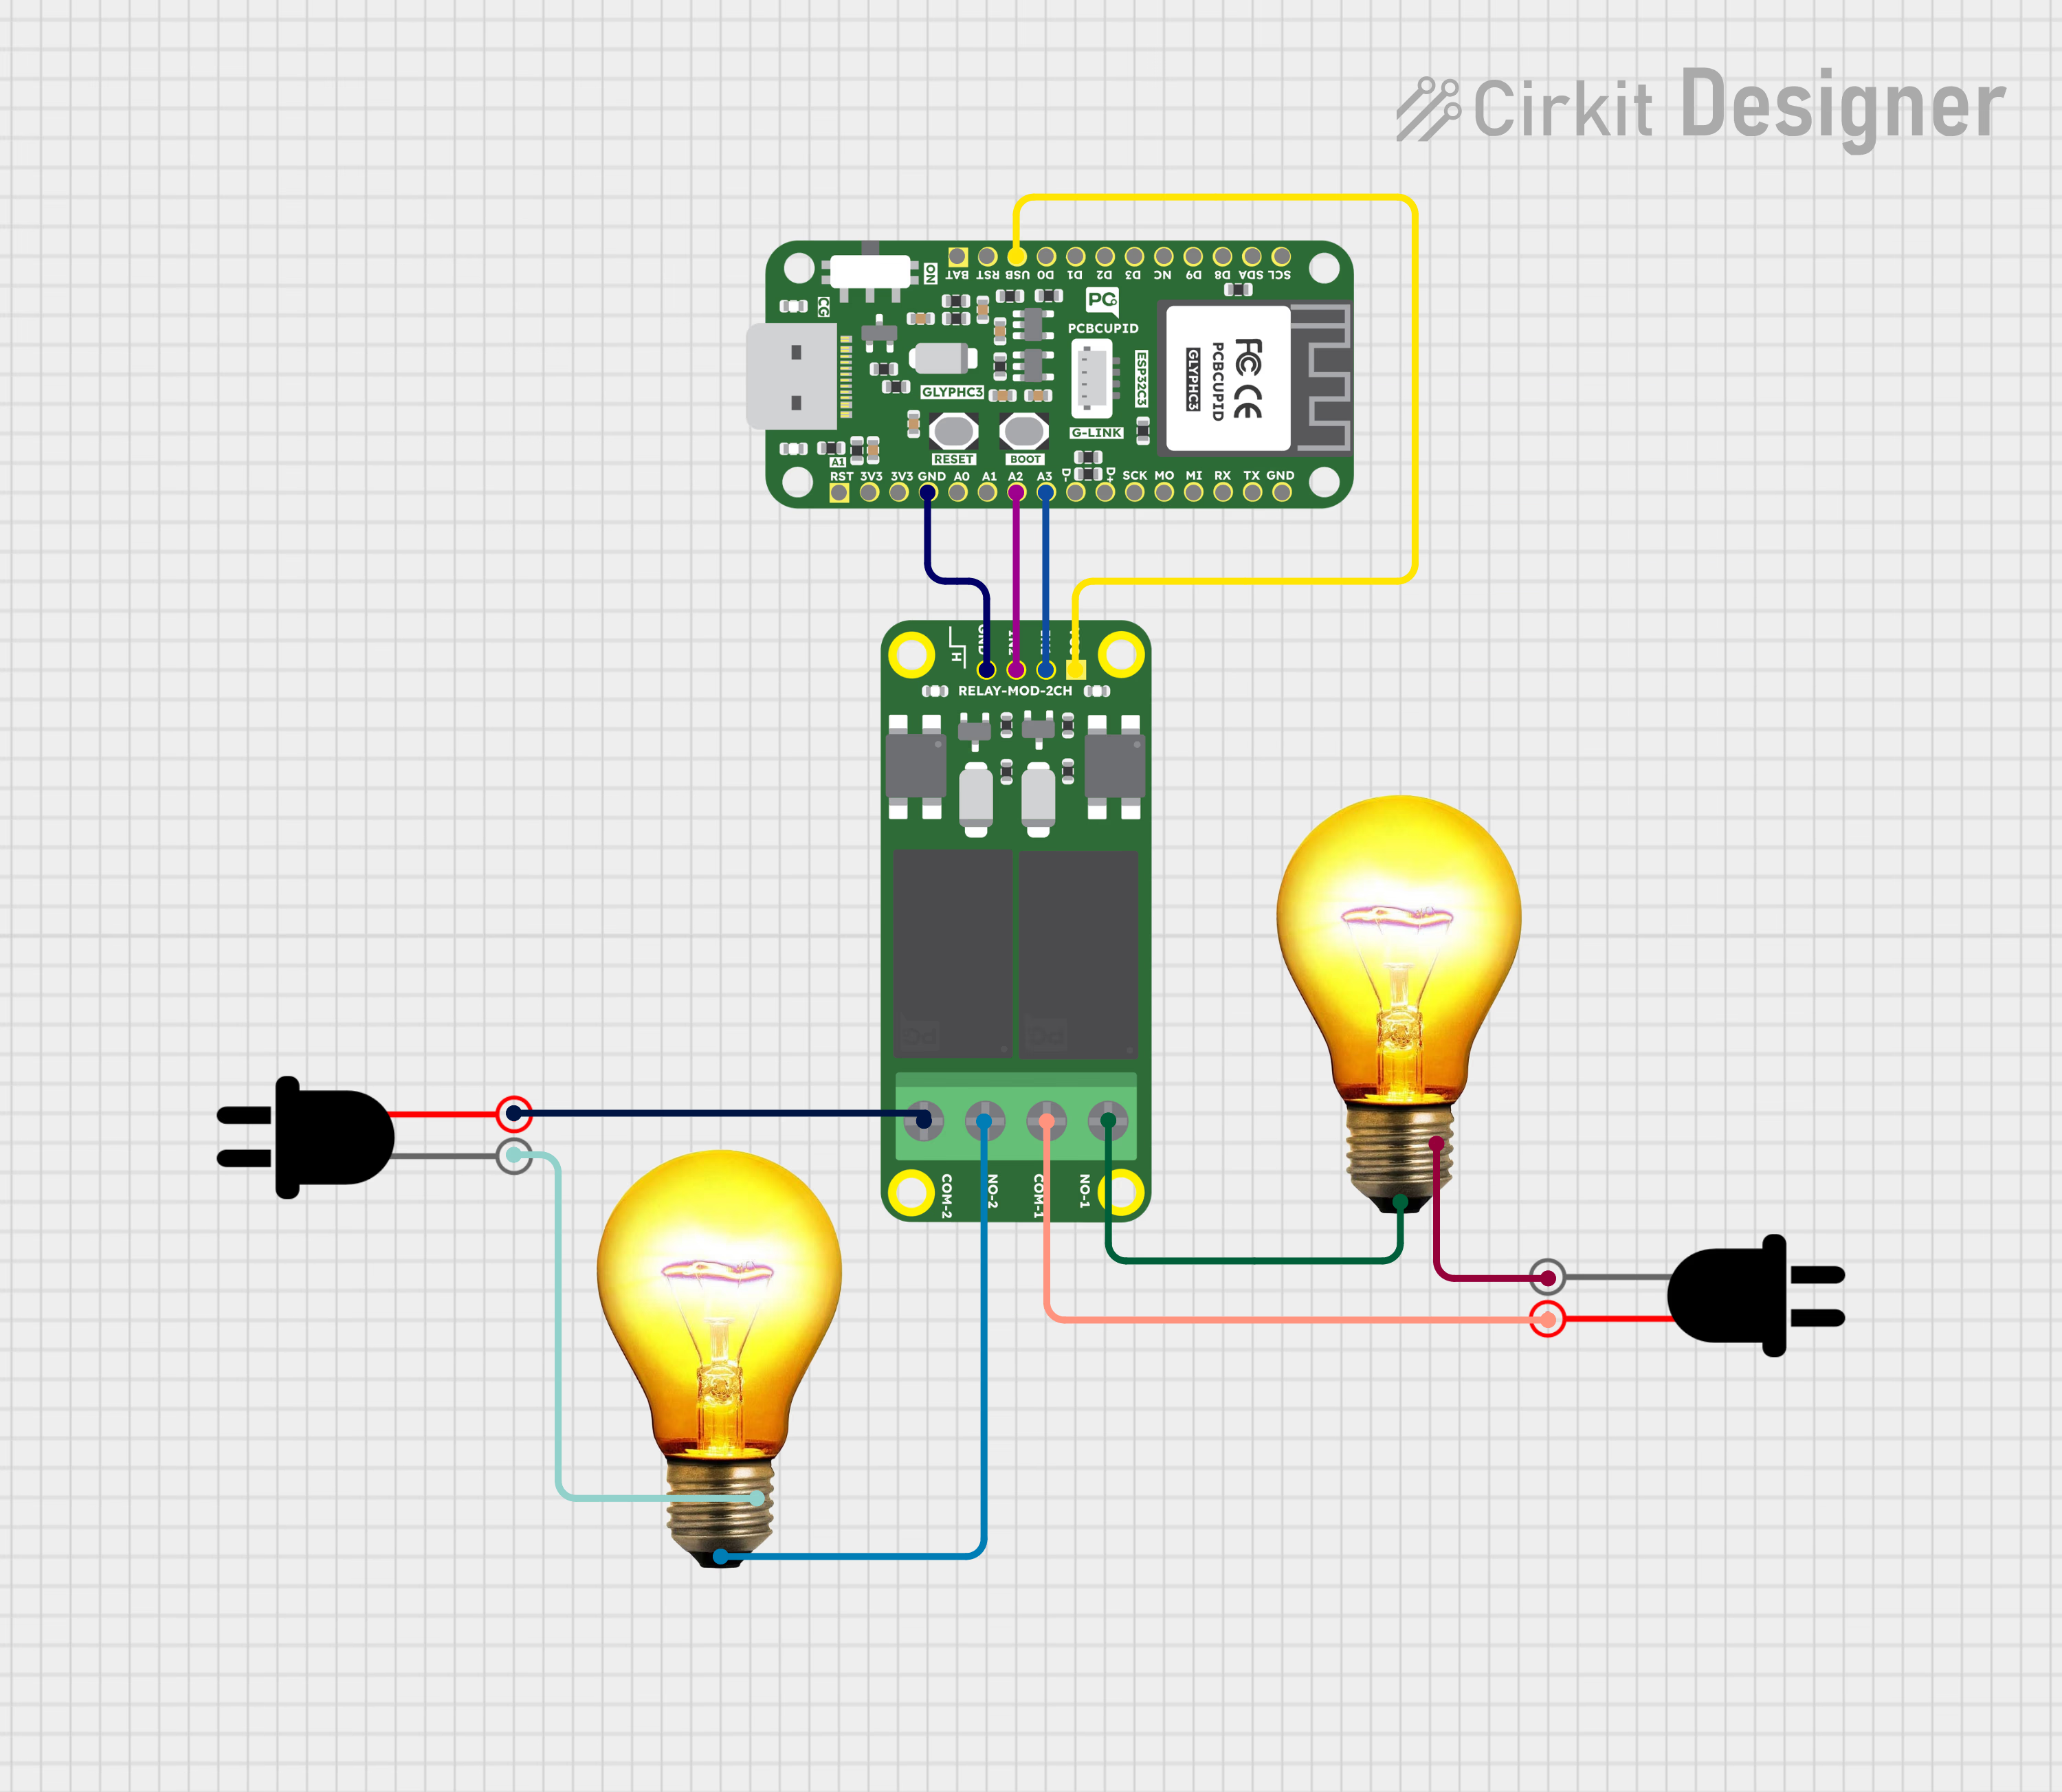
A dual-channel relay is an electromagnetic switch module with two independent relays, allowing control of two electrical devices separately using a microcontroller like GLYPH boards.How Relay Works: You can check this link to see how the GMOD-2-CH-Relay Works!Unlike other relay module GMOD 2-ch-Relay is HIGH level logic module, i.e :
LOW (0V) → Relay OFF (bulb turns OFF)
HIGH (3.3V) → Relay ON (bulb turns ON)
How relay works with on/off bulbs
The glyph board sets up a WiFi Access Point (AP) or connects to an existing WiFi network.
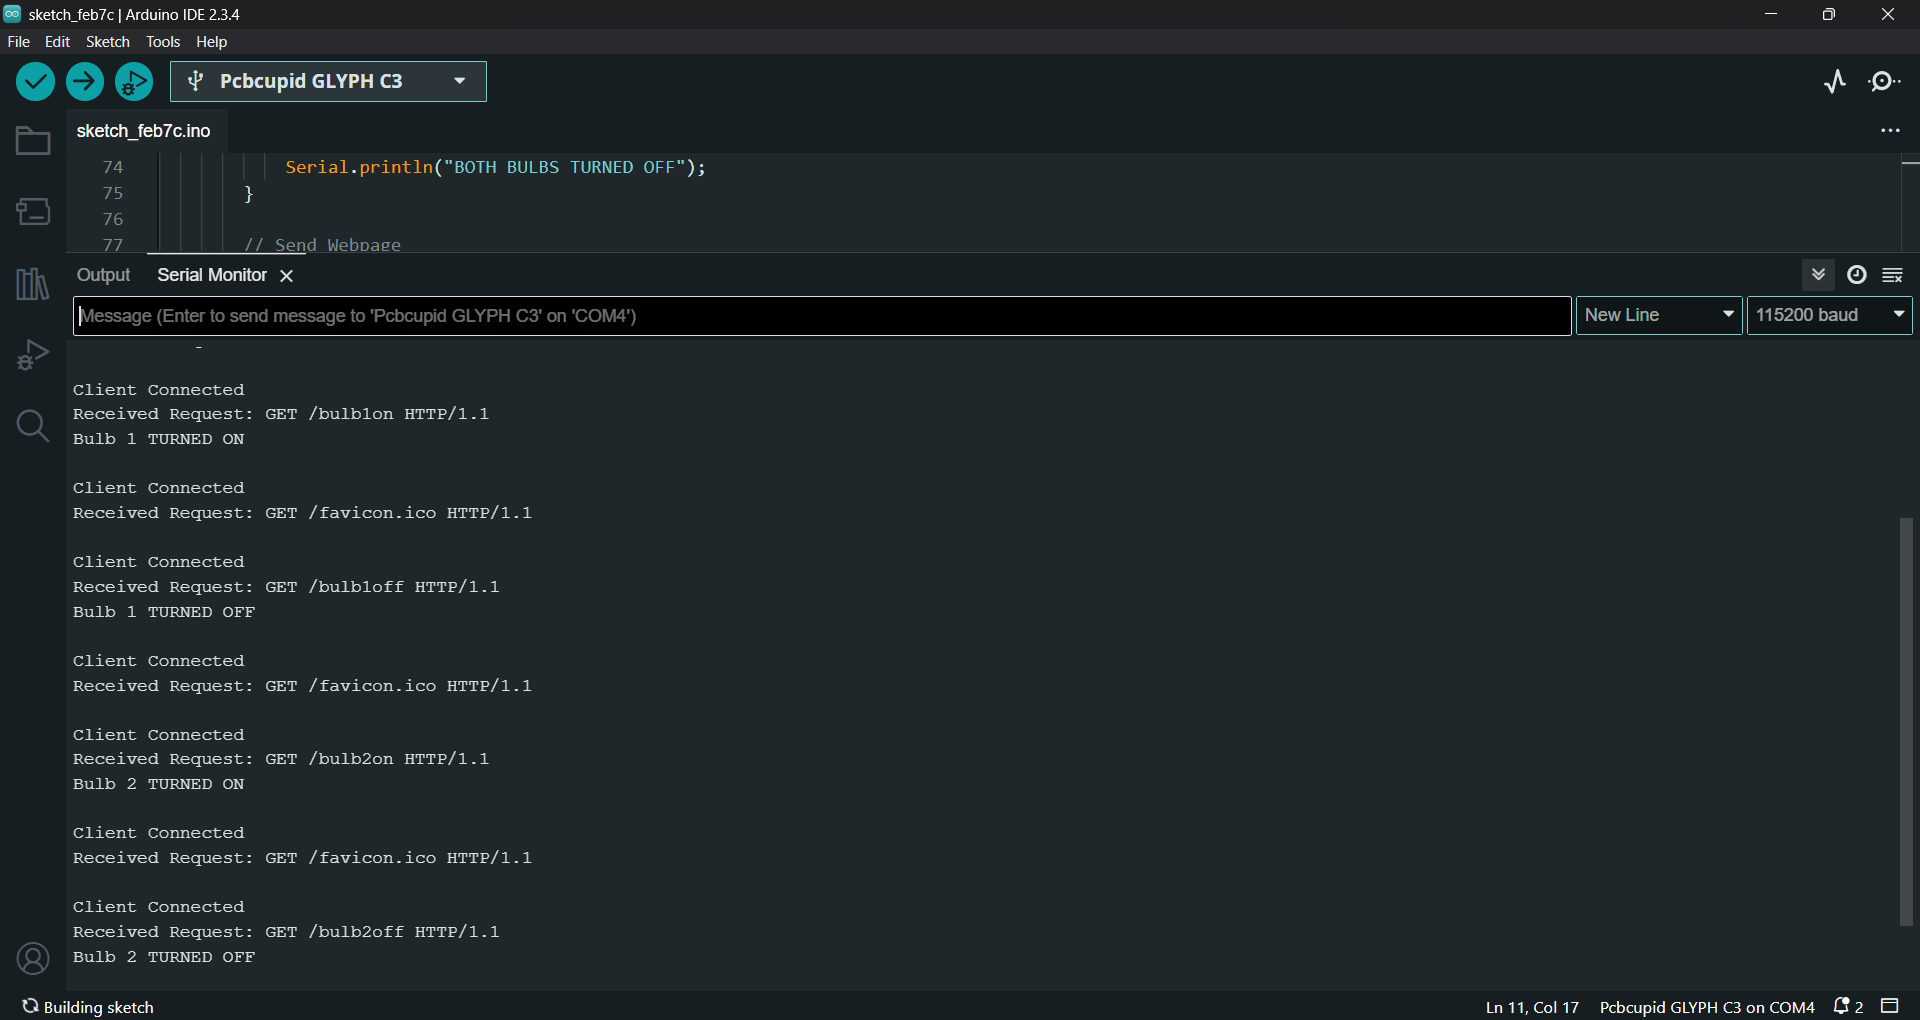
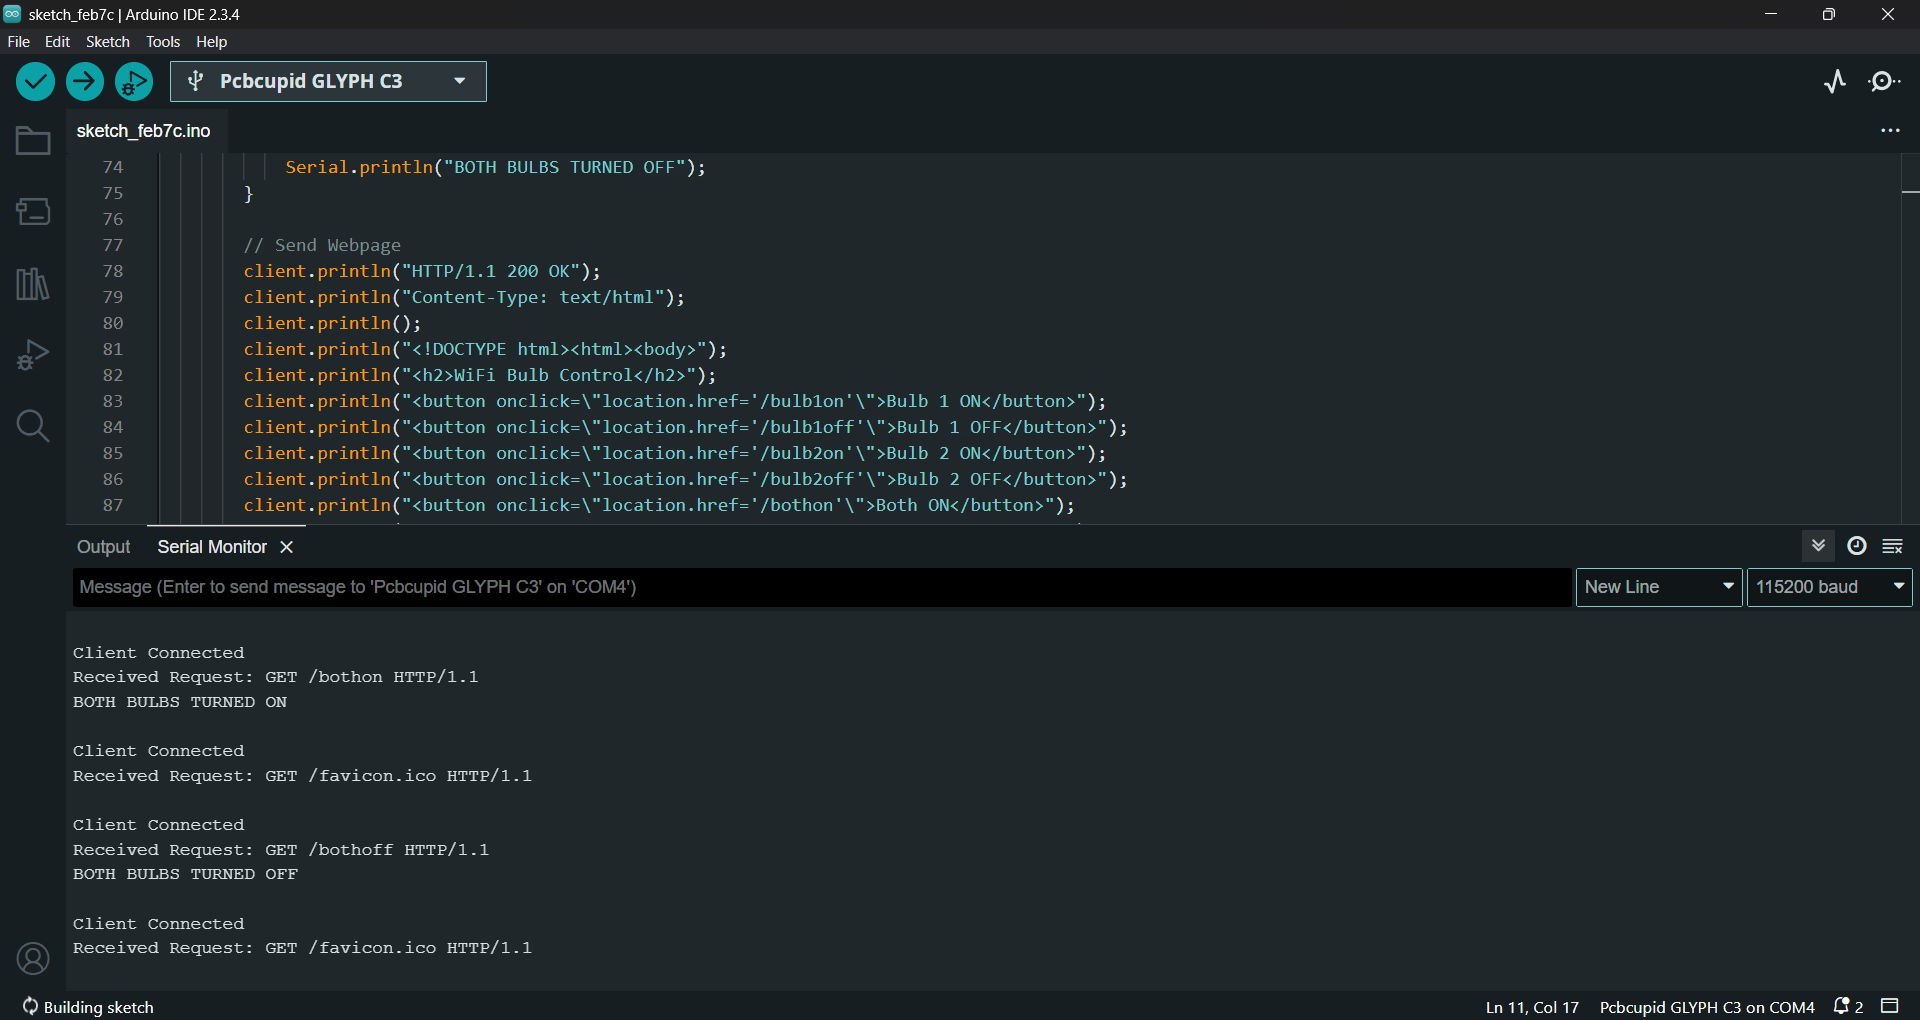
A web server runs on the glyphc3, providing buttons to toggle the relay.
When a user clicks a button, the glyphc3 activates or deactivates the relays, switching the bulbs ON or OFF.
The GLYPH-C3 board is configured as a WiFi server, allowing users to access a web-based interface from any connected device. The 2-channel relay acts as an electrically isolated switch to turn the bulbs on and off according to user inputs received over WiFi.
Select the Board and PortDo the following settings in your Arduino IDE,
Do the following settings in your Arduino IDE,
Tools > Board > esp32 > Pcbcupid GLYPH C3
For the Pcbcupid GLYPH C3 to appear under Tools > Board > esp32, the esp32 board version installed in the Arduino IDE should be greater than or equal to 3.1.0.
Tools > Port and select the port connected to your GLYPH.
Tools > USB CDC on Boot >Enabled
If USB CDC on BOOT not enabled, you won’t be seeing any serial data on Arduino IDE.
Upload the Code
Click the upload button (➡️ icon) or use the shortcut CTRL + U in Arduino IDE to upload the code to the board.
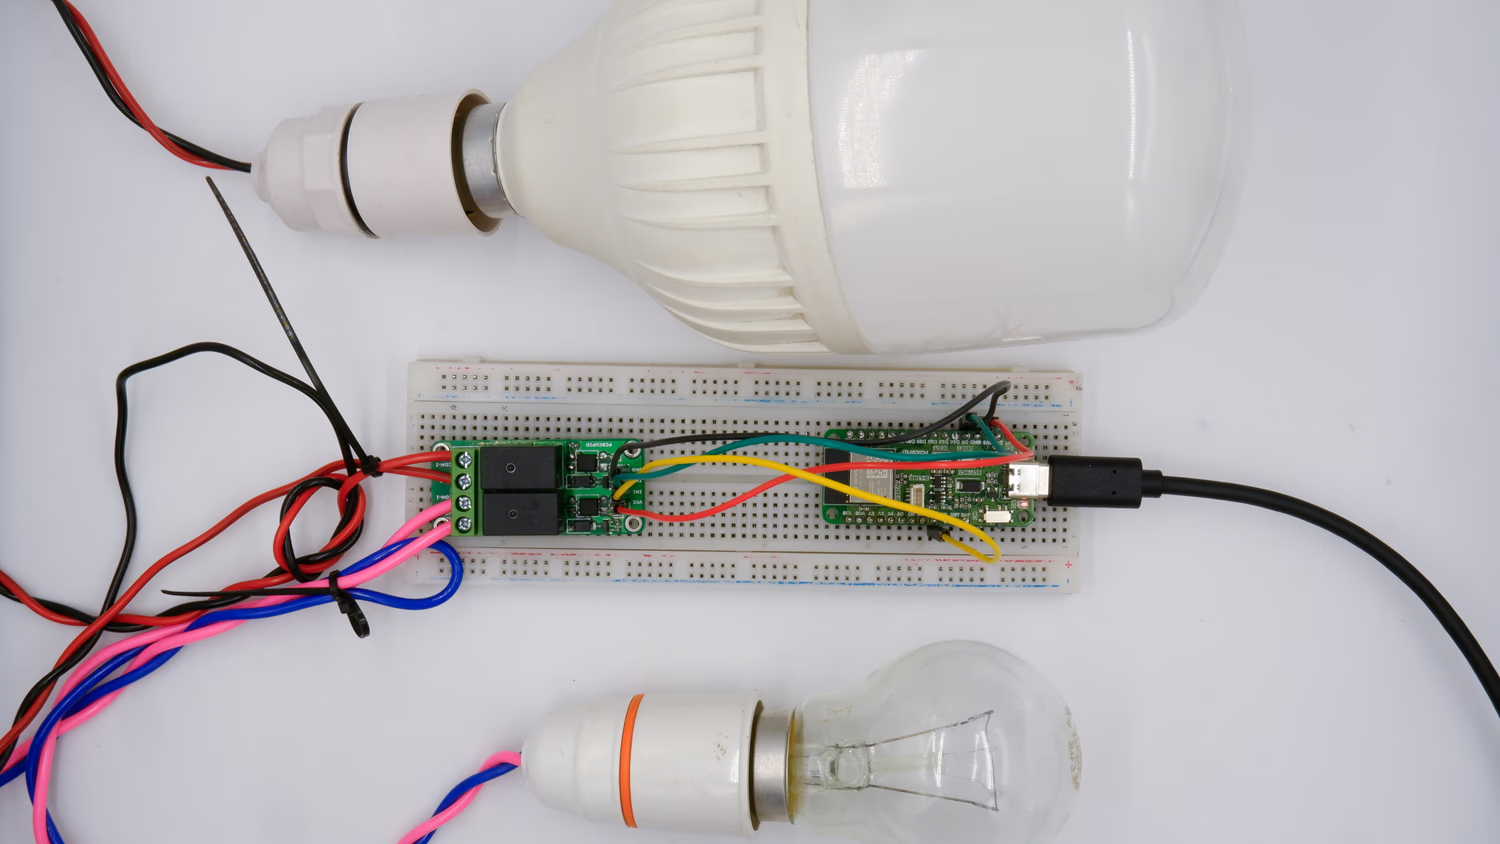 The GLYPH-C3 board is configured as a WiFi server, allowing users to access a web-based interface from any connected device. The 2-channel relay acts as an electrically isolated switch to turn the bulbs on and off according to user inputs received over WiFi.