GLYPH BLE SERVER
 This guide will help you configure the GLYPH board as a Bluetooth server and send data to your GLYPH board through a Smart Phone, assuming you are using GLYPH-C3 (but any GLYPH development board from the ESP32 Series should work)
Step 1: Code Setup
- Open Arduino IDE
- Enter the following code into the Arduino IDE
SeeedStudio Xiao ESP32C3
If your Arduino ESP32 Core is not upgraded to version 3.0.0 or above, make sure to update the code:
- Change
String value = pCharacteristic->getValue();tostd::string value = pCharacteristic->getValue();
Step 2: Upload the Code
-
Connect the Board
- Connect your GLYPH board to your computer
-
Select the Board and Port
Do the following setting in your Arduino IDE,
Tools > Boardand select the appropriate board.Tools > Portand select the port connected to your GLYPH.Tools > USB CDC on Bootand select Enabled
-
Upload the Code
- Click the upload button (➡️ icon) or use the shortcut
CRTL + Uin Arduino IDE to upload the code to the board.
- Click the upload button (➡️ icon) or use the shortcut
Step 3: Download & Install LightBlue App
- Install the App
Step 4: Connect to the Bluetooth Device
-
Open Bluetooth on Your Phone
- Ensure Bluetooth is enabled on your smartphone.
-
Scan for Devices
- Bring your phone close to the GLYPH board.
-
Scan for devices and locate the GLYPHC3 device.

Step 5: Open LightBlue App and Connect
-
Open the LightBlue App
- Launch the LightBlue app on your smartphone.
-
Scan Tab
- Click on the scan tab.
-
Connect to Device
- Click CONNECT next to GLYPHC3.
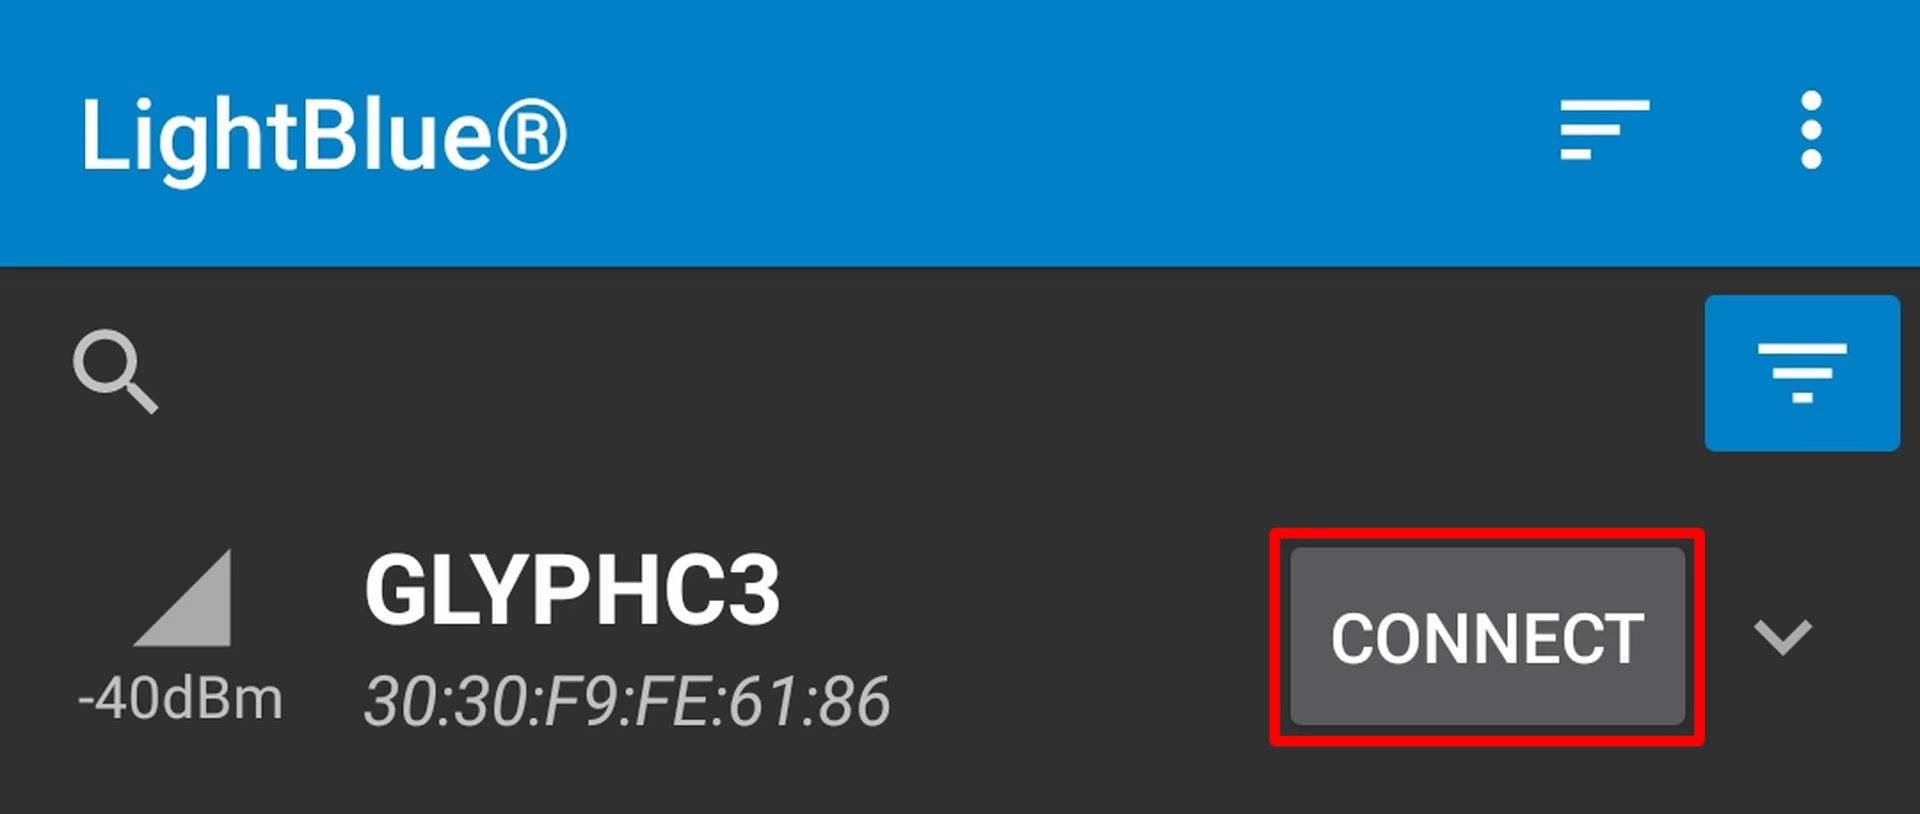
- Click CONNECT next to GLYPHC3.
-
Select Readable, Writable Section
- Click on the section at the very bottom which says Readable, Writable.

- Click on the section at the very bottom which says Readable, Writable.
-
Set Data Format
- Under the Data format drop-down menu, select UTF-8 String.

- Under the Data format drop-down menu, select UTF-8 String.
-
Send a Message
- Type any text that you like to send to your GLYPH Board, In this case let’s try “PCBCUPID-GLYPHC3” under
WRITTEN VALUESand clickWRITE.

- Type any text that you like to send to your GLYPH Board, In this case let’s try “PCBCUPID-GLYPHC3” under
Step 6: View the Output
-
Check the Serial Monitor
- You will see the text string “Hello” output on the Serial Monitor of Arduino IDE.

- You will see the text string “Hello” output on the Serial Monitor of Arduino IDE.