Code Composer Studio (CCS IDE)
To get the complete power of Texas Instruments (TI) microcontrollers Code Composer Studio (CCS) would be the best option out there. This guide provides a step-by-step walkthrough for setting up CCS on your system, ensuring you’re ready to develop applications for your Glyph boards.Installation Process
Download
The installation file for Code Composer Studio can be obtained from the below site: https://www.ti.com/tool/CCSTUDIONote: The download size is approximately 1.0 GB, so ensure you have a stable internet connection.
System Check
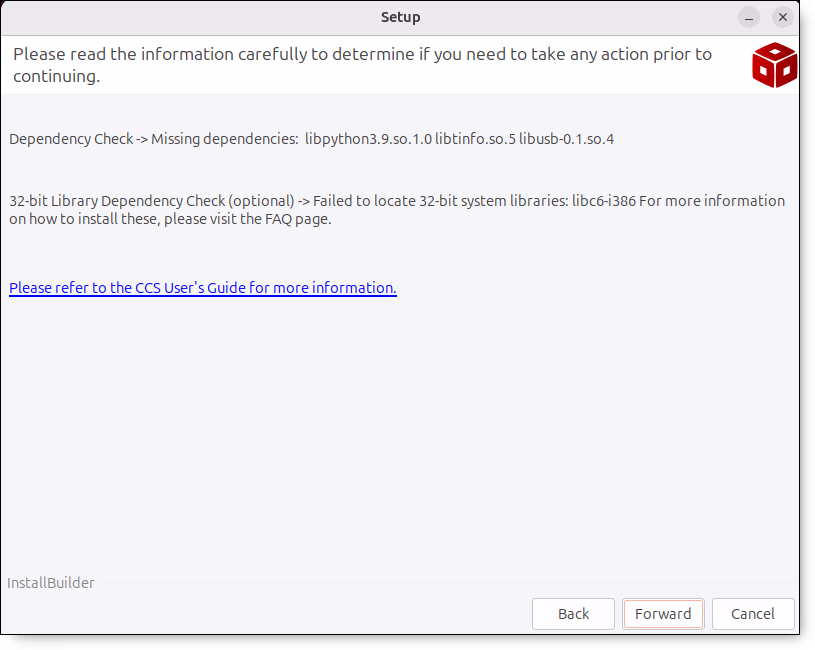
The installer will check the system to see if it meets the requirements for installation. Any issues that need to be addressed will be displayed. Disabling security software is recommended but optional. Example on Windows host OS: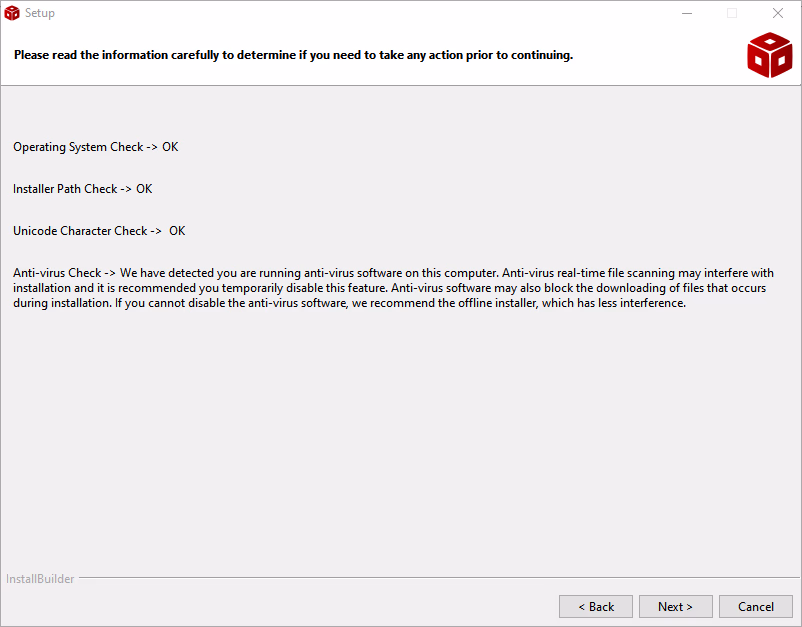
Installation Location
Choose a location to install Code Composer Studio. This location must not already contain a Code Composer Studio installation. If multiple versions of Code Composer Studio or Code Composer Studio will be installed then it is recommended to install them in versioned folders.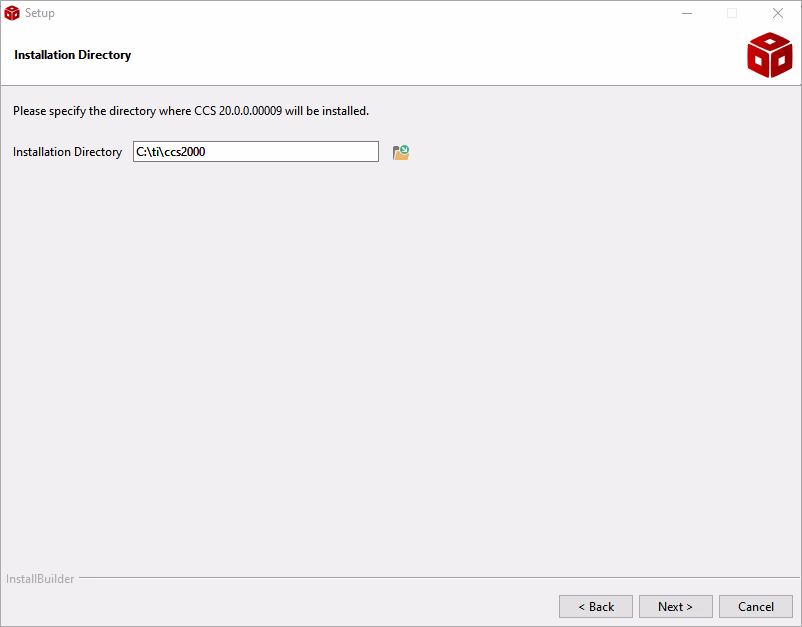
Device Support
Choose the desired device families to install support for.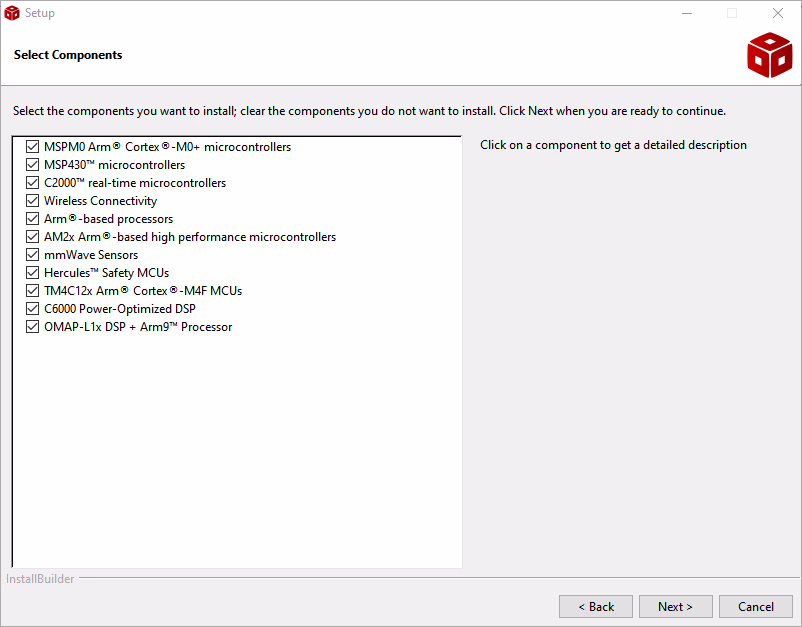
Progress
As the installation proceeds the progress screen will show what the installer is doing. Depending on how many device families were selected the installation may take a significant amount of time.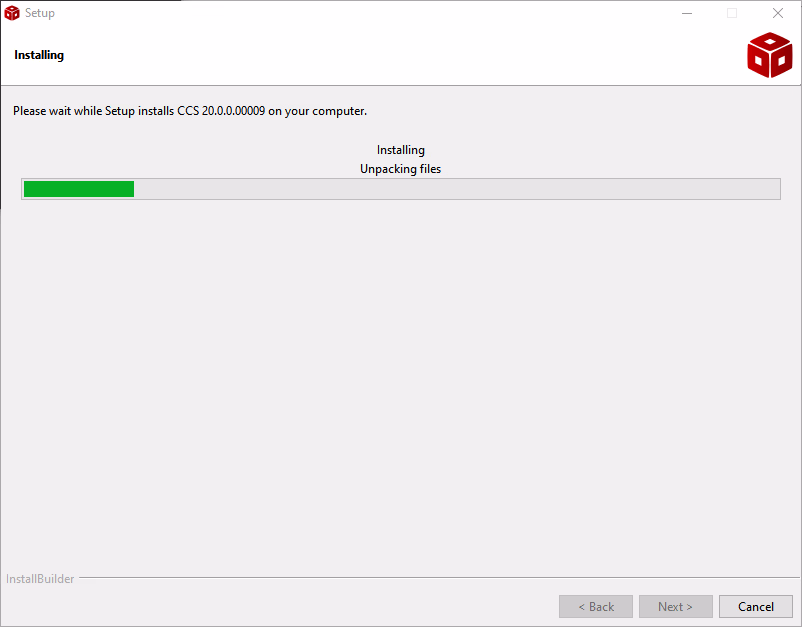
Completion
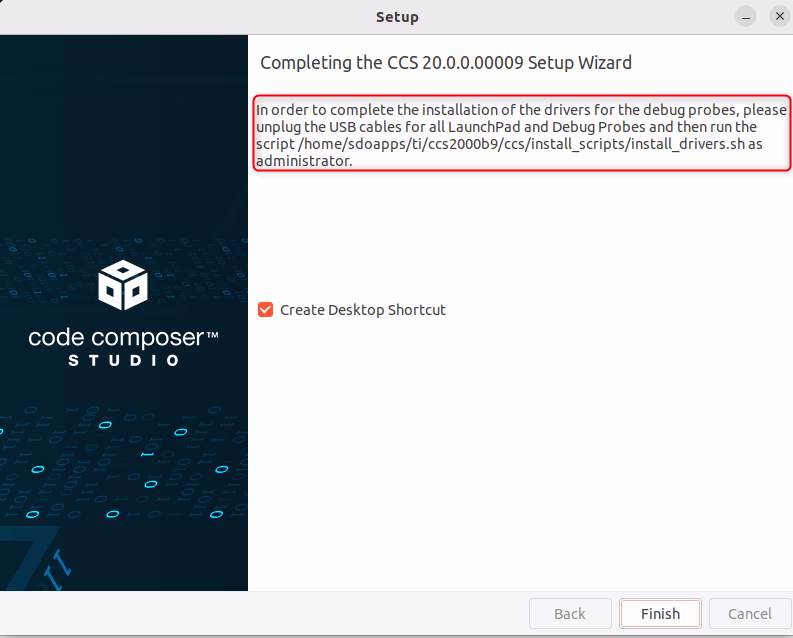
The last screen shown during installation is the successful completion screen. This screen provides options to launch Code Composer Studio and create a desktop shortcut.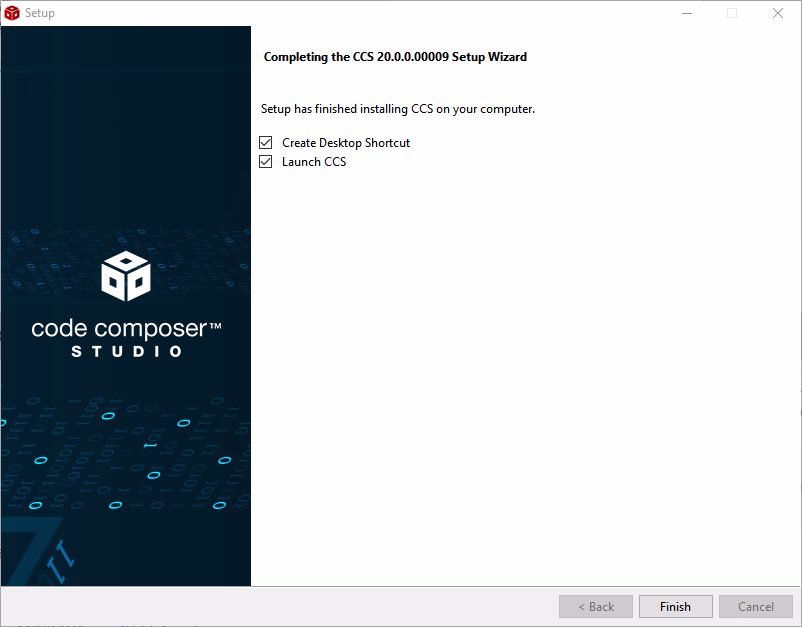
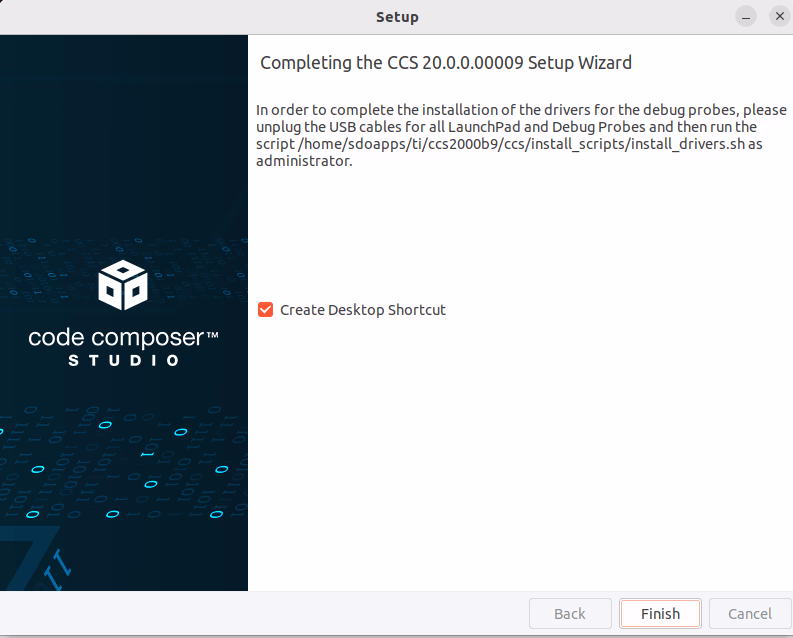
Post Installation Step (Linux Only)
If Code Composer Studio was installed as user, then it is necessary to run the driver install script after the installation is complete. Run<CCS_INSTALL_DIR>/ccs/install_scripts/install_drivers.sh with sudo as instructed by the installer.
Ubuntu 24.04
The following steps are not required if the install_drivers.sh script is successfully executed.
<CCS_INSTALL_DIR>/ccs/theia and run the following commands:
sudo chown root chrome-sandbox
sudo chmod 4755 chrome-sandbox
Resource Explorer
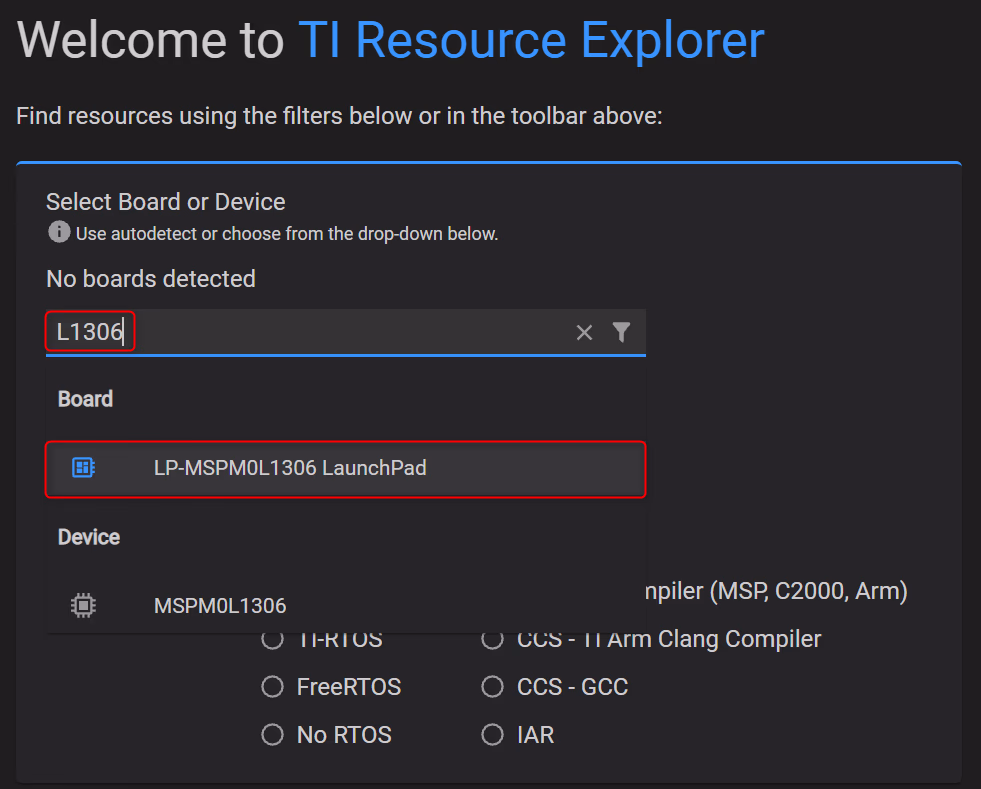
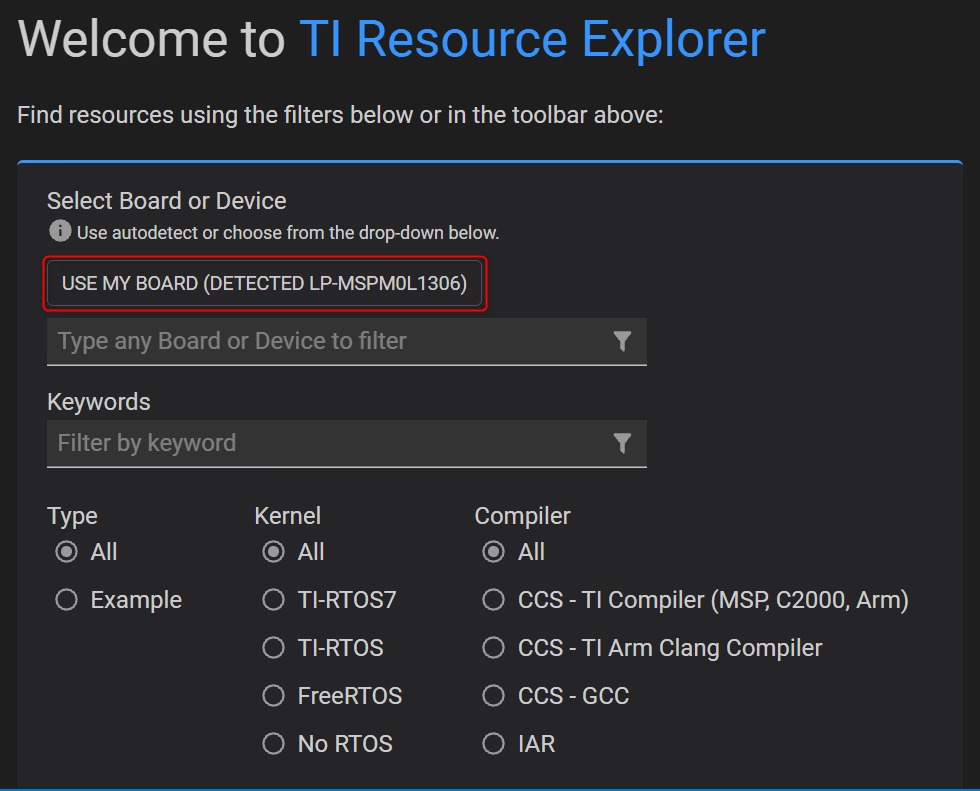
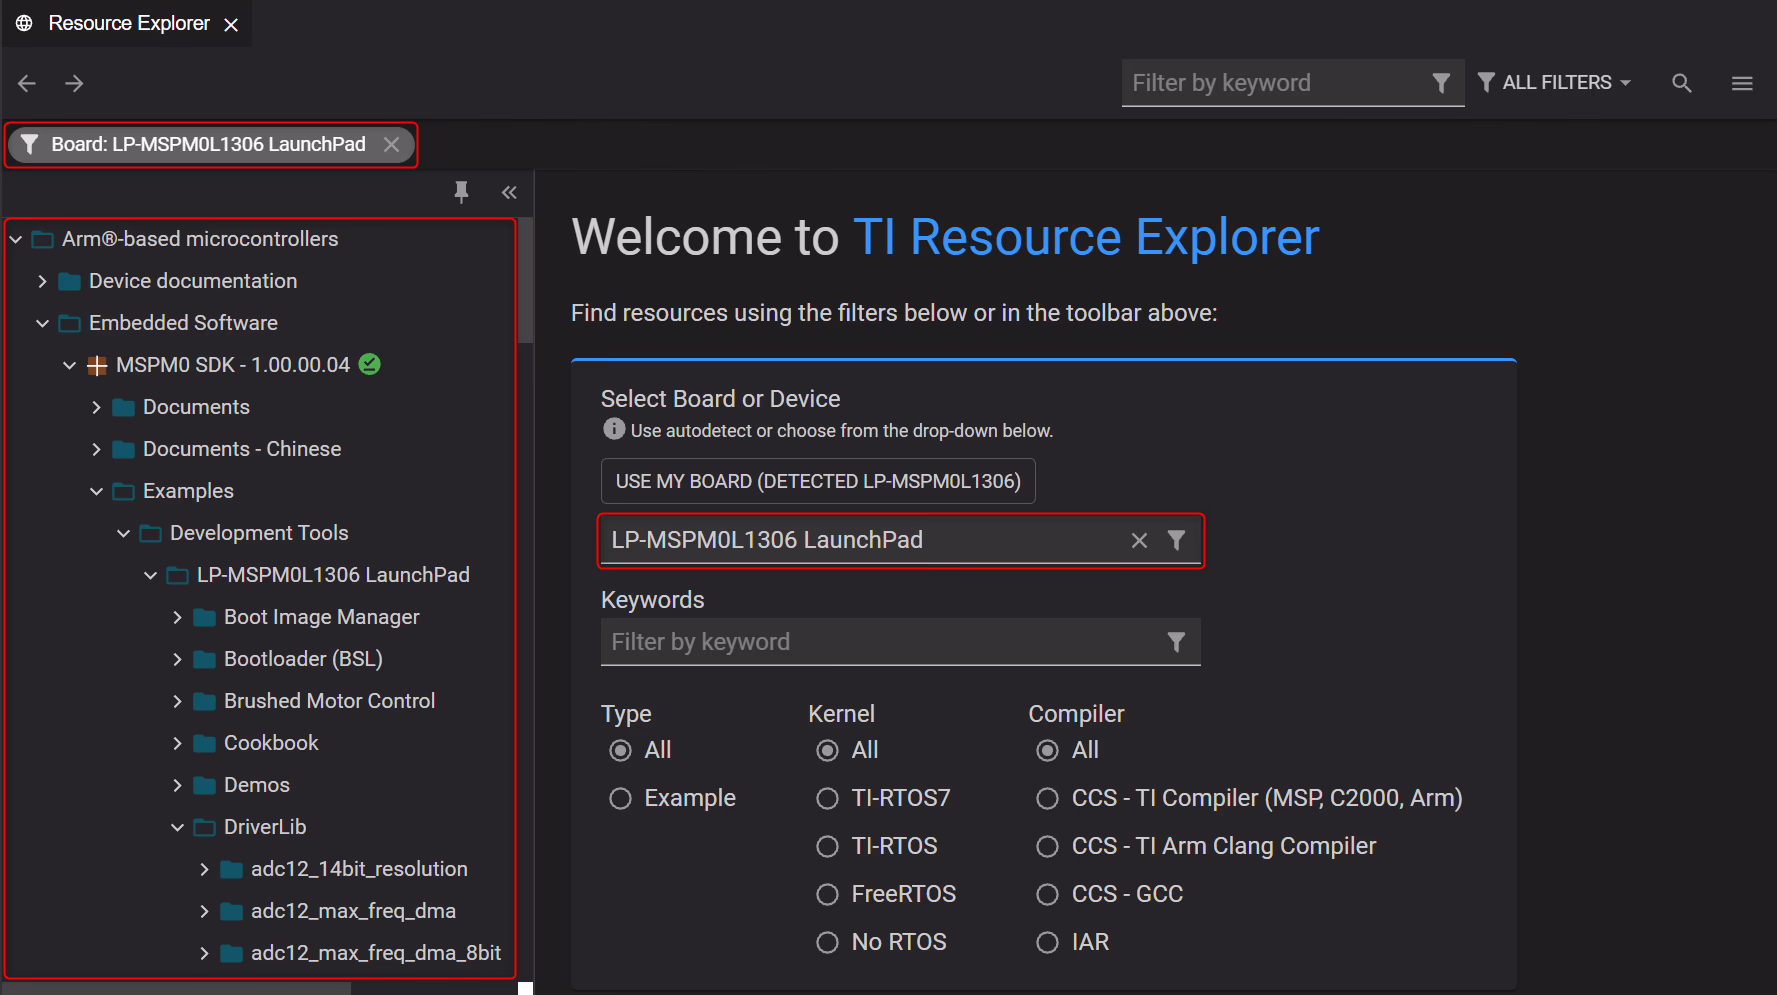
The Resource Explorer helps you find all the latest examples, libraries, demo applications, data sheets, and more for your chosen platform. The Resource Explorer can be opened by selecting Browse Software and examples under Start exploring in the Getting Started view or from the View → Open Resource Explorer menu item.
Not all devices are supported via Resource Explorer.
Creating a New Code Composer Studio Project
Creating a new Code Composer Studio project purely from “scratch” is typically not recommended. Instead, it is strongly recommended to start with an existing SDK example. There is often a very minimal SDK example which often serves as a template for users wishing to start from “scratch”.- Go to menu File → Create New Project… or open the Getting Started view and select the Create a new project in Code Composer Studio option under the Start developing section of the Getting Started view. This will open the Project Wizard.
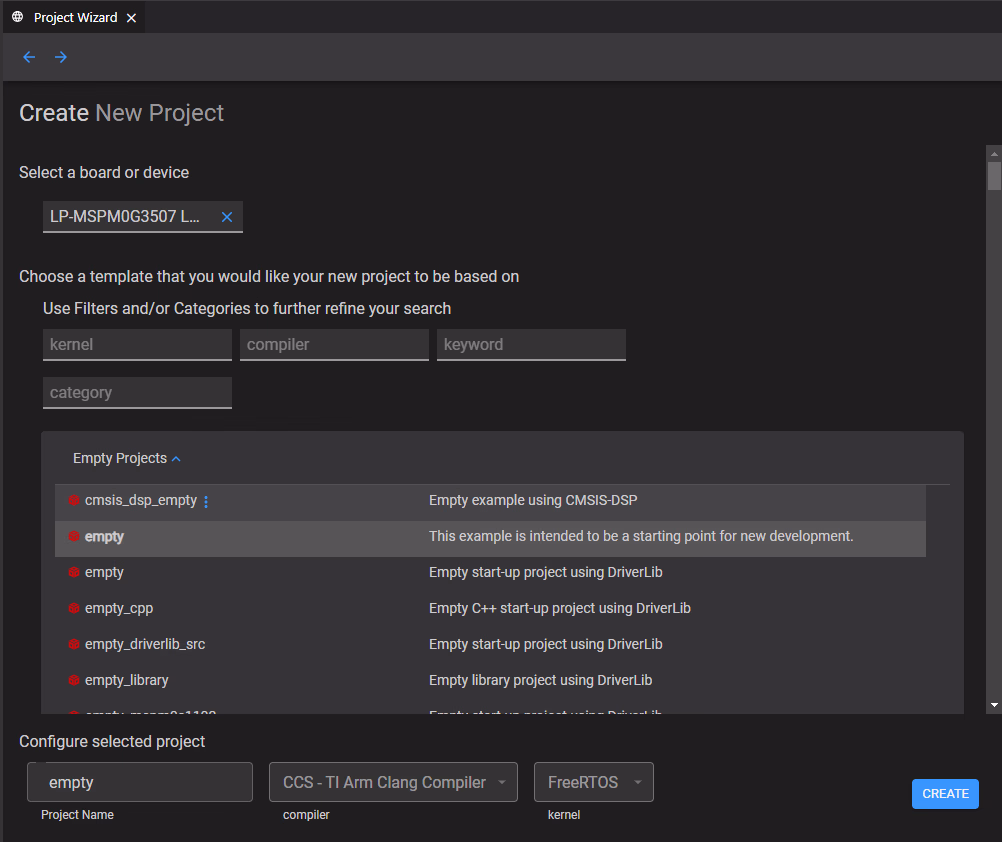
- In Project Wizard, specify the board or device under Select a board or device. Once a board or device is specified, a list of available projects appears.
- (Optional) Use the Filters and Categories fields to filter the list of available projects.
- Select the desired project to import. Most SDKs provide some sort of empty type example which serves as a basic template for new projects.
- (Optional) Under Configure selected project
- Use the Project Name field to change the project name from the default.
- Use the compiler and kernel fields below the project list to specify the compiler type and kernel to use. Note that not all projects have multiple options for these fields.
- Press Create to import the example project into the Code Composer Studio Explorer