Overview
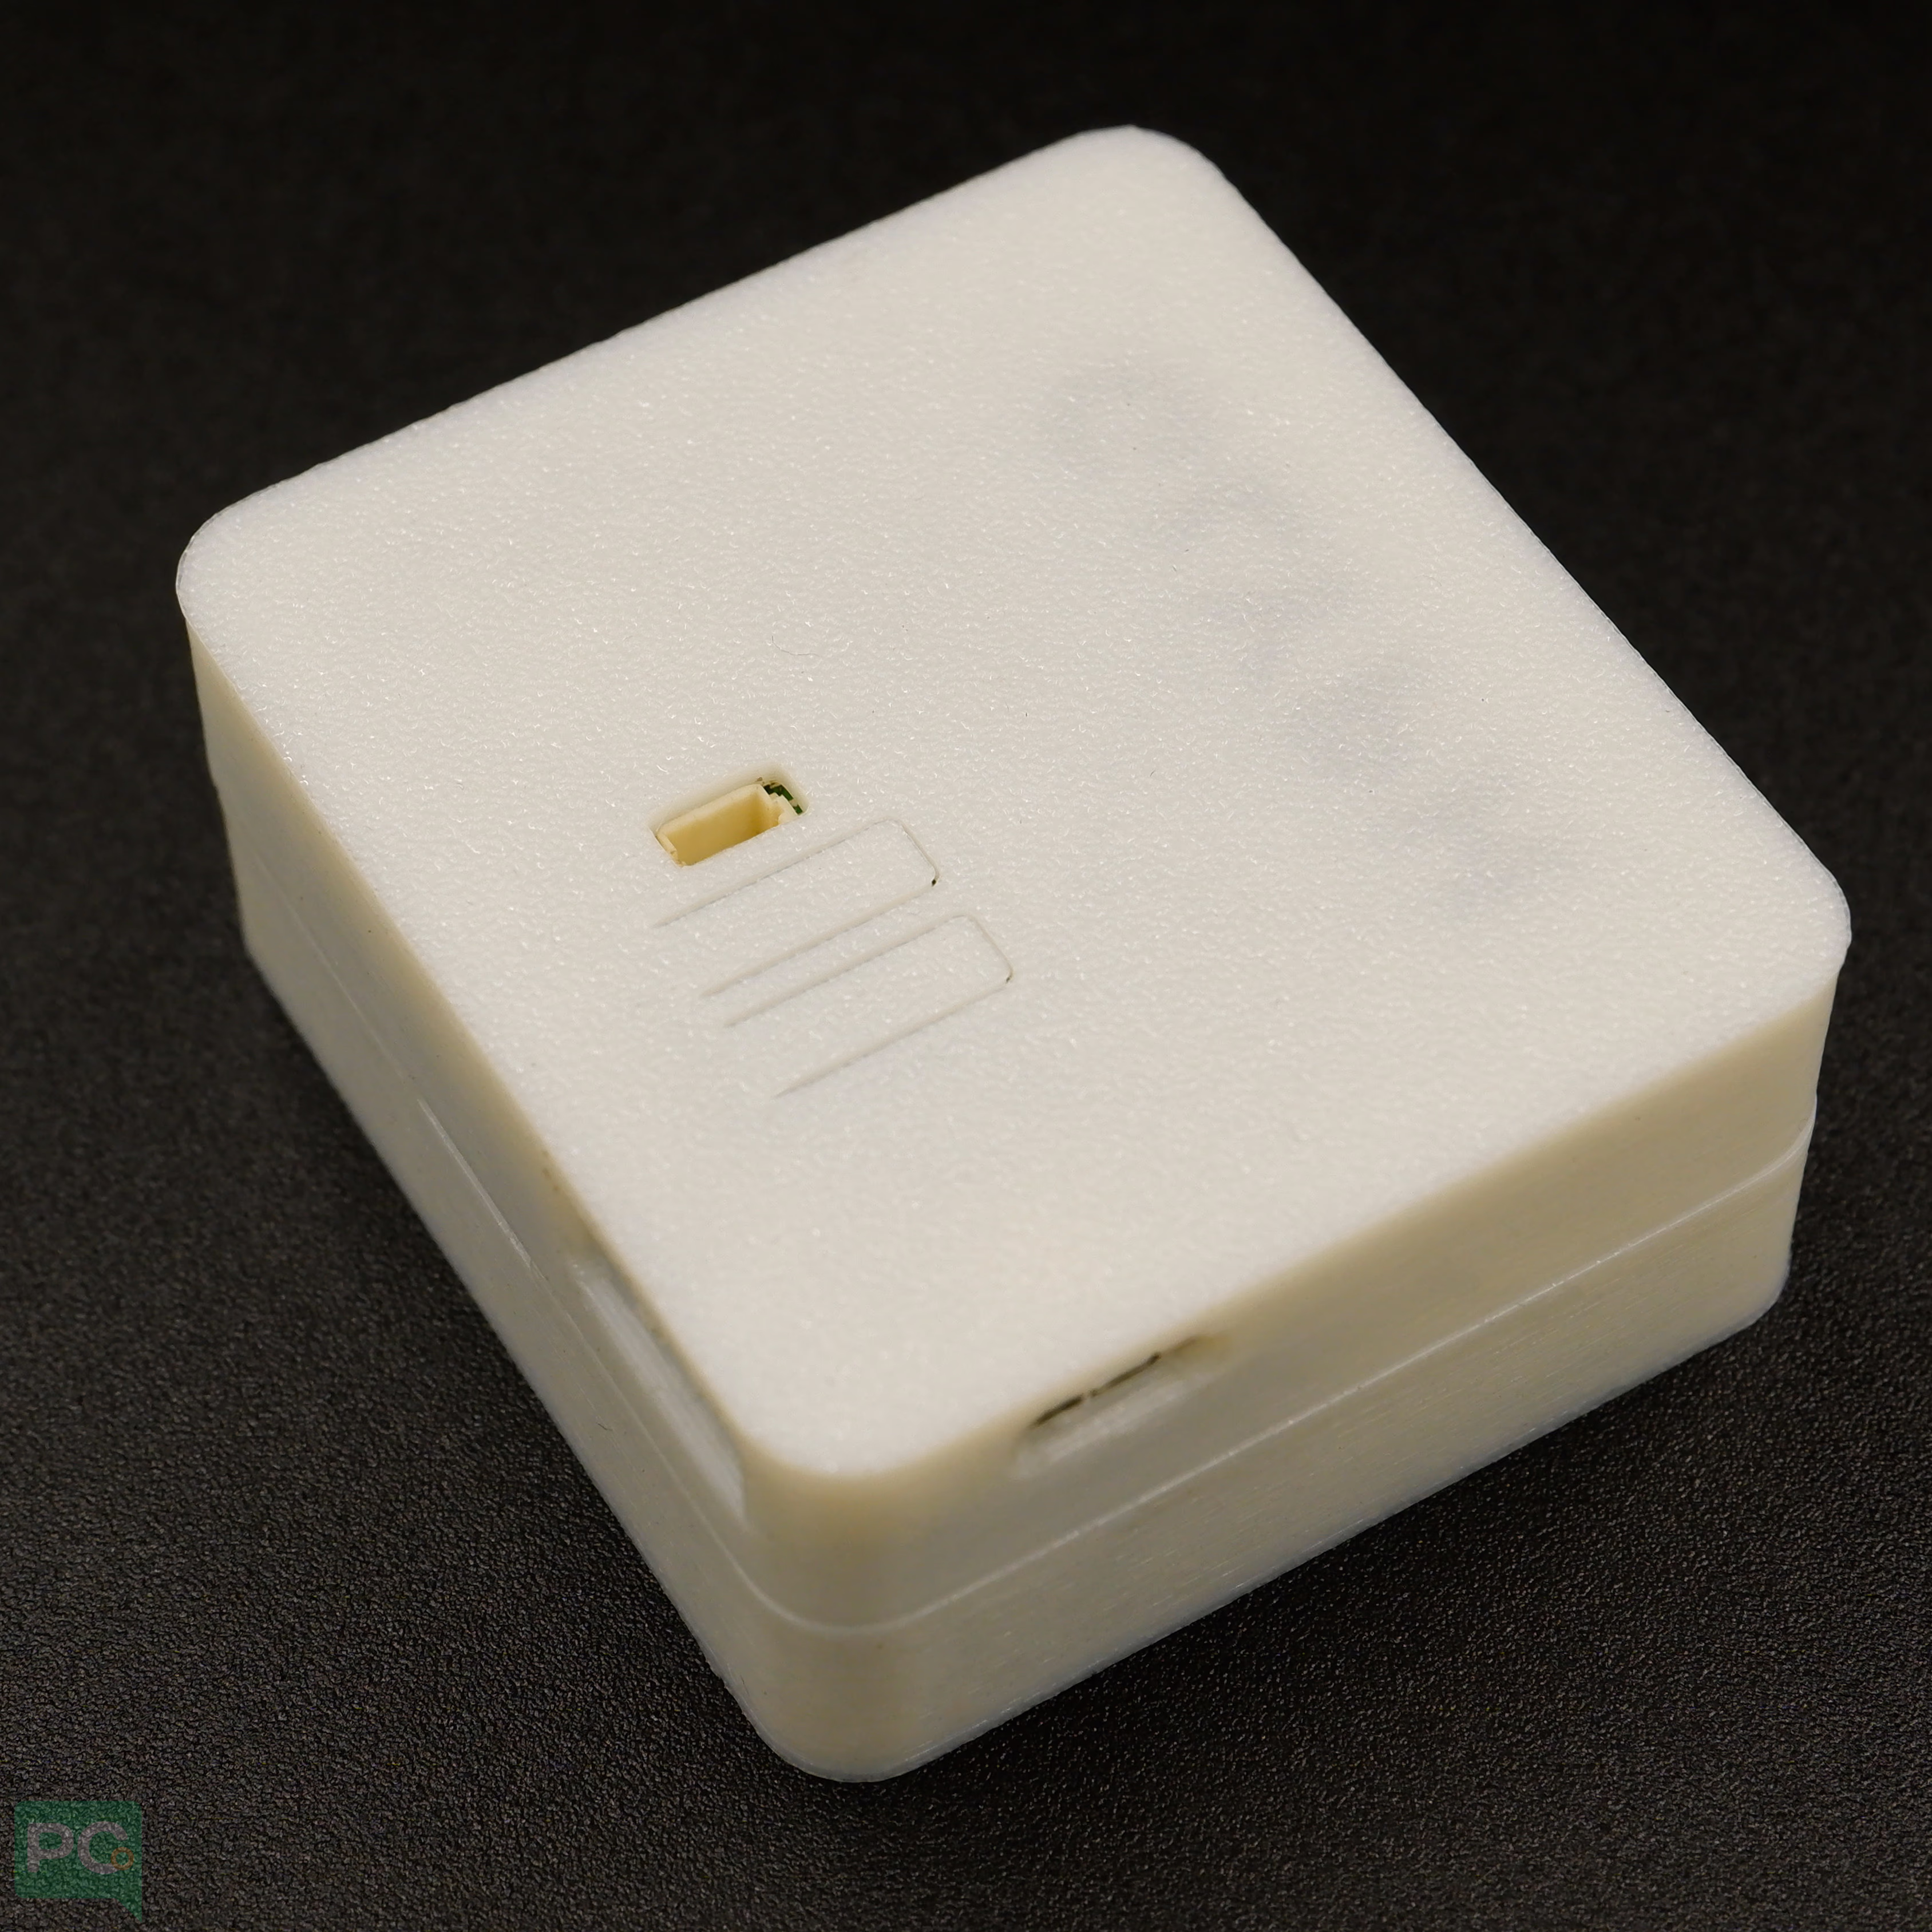
Made from high-quality PLA material, this case offers robust durability while maintaining a sleek, minimalist aesthetic. Its fine 0.2mm layer thickness ensures a smooth, professional finish, complemented by a clean white color that enhances the overall look of your device. The thoughtfully designed 2mm heat inserts and included M2 nut facilitate easy assembly and secure mounting of your GLYPH boards. Features- Precise cutouts for all GPIO pins, USB, and power connections
- Ventilation slots for heat dissipation
- Snap-fit or screw mounting for secure assembly
- Compatible with standard screws and standoffs
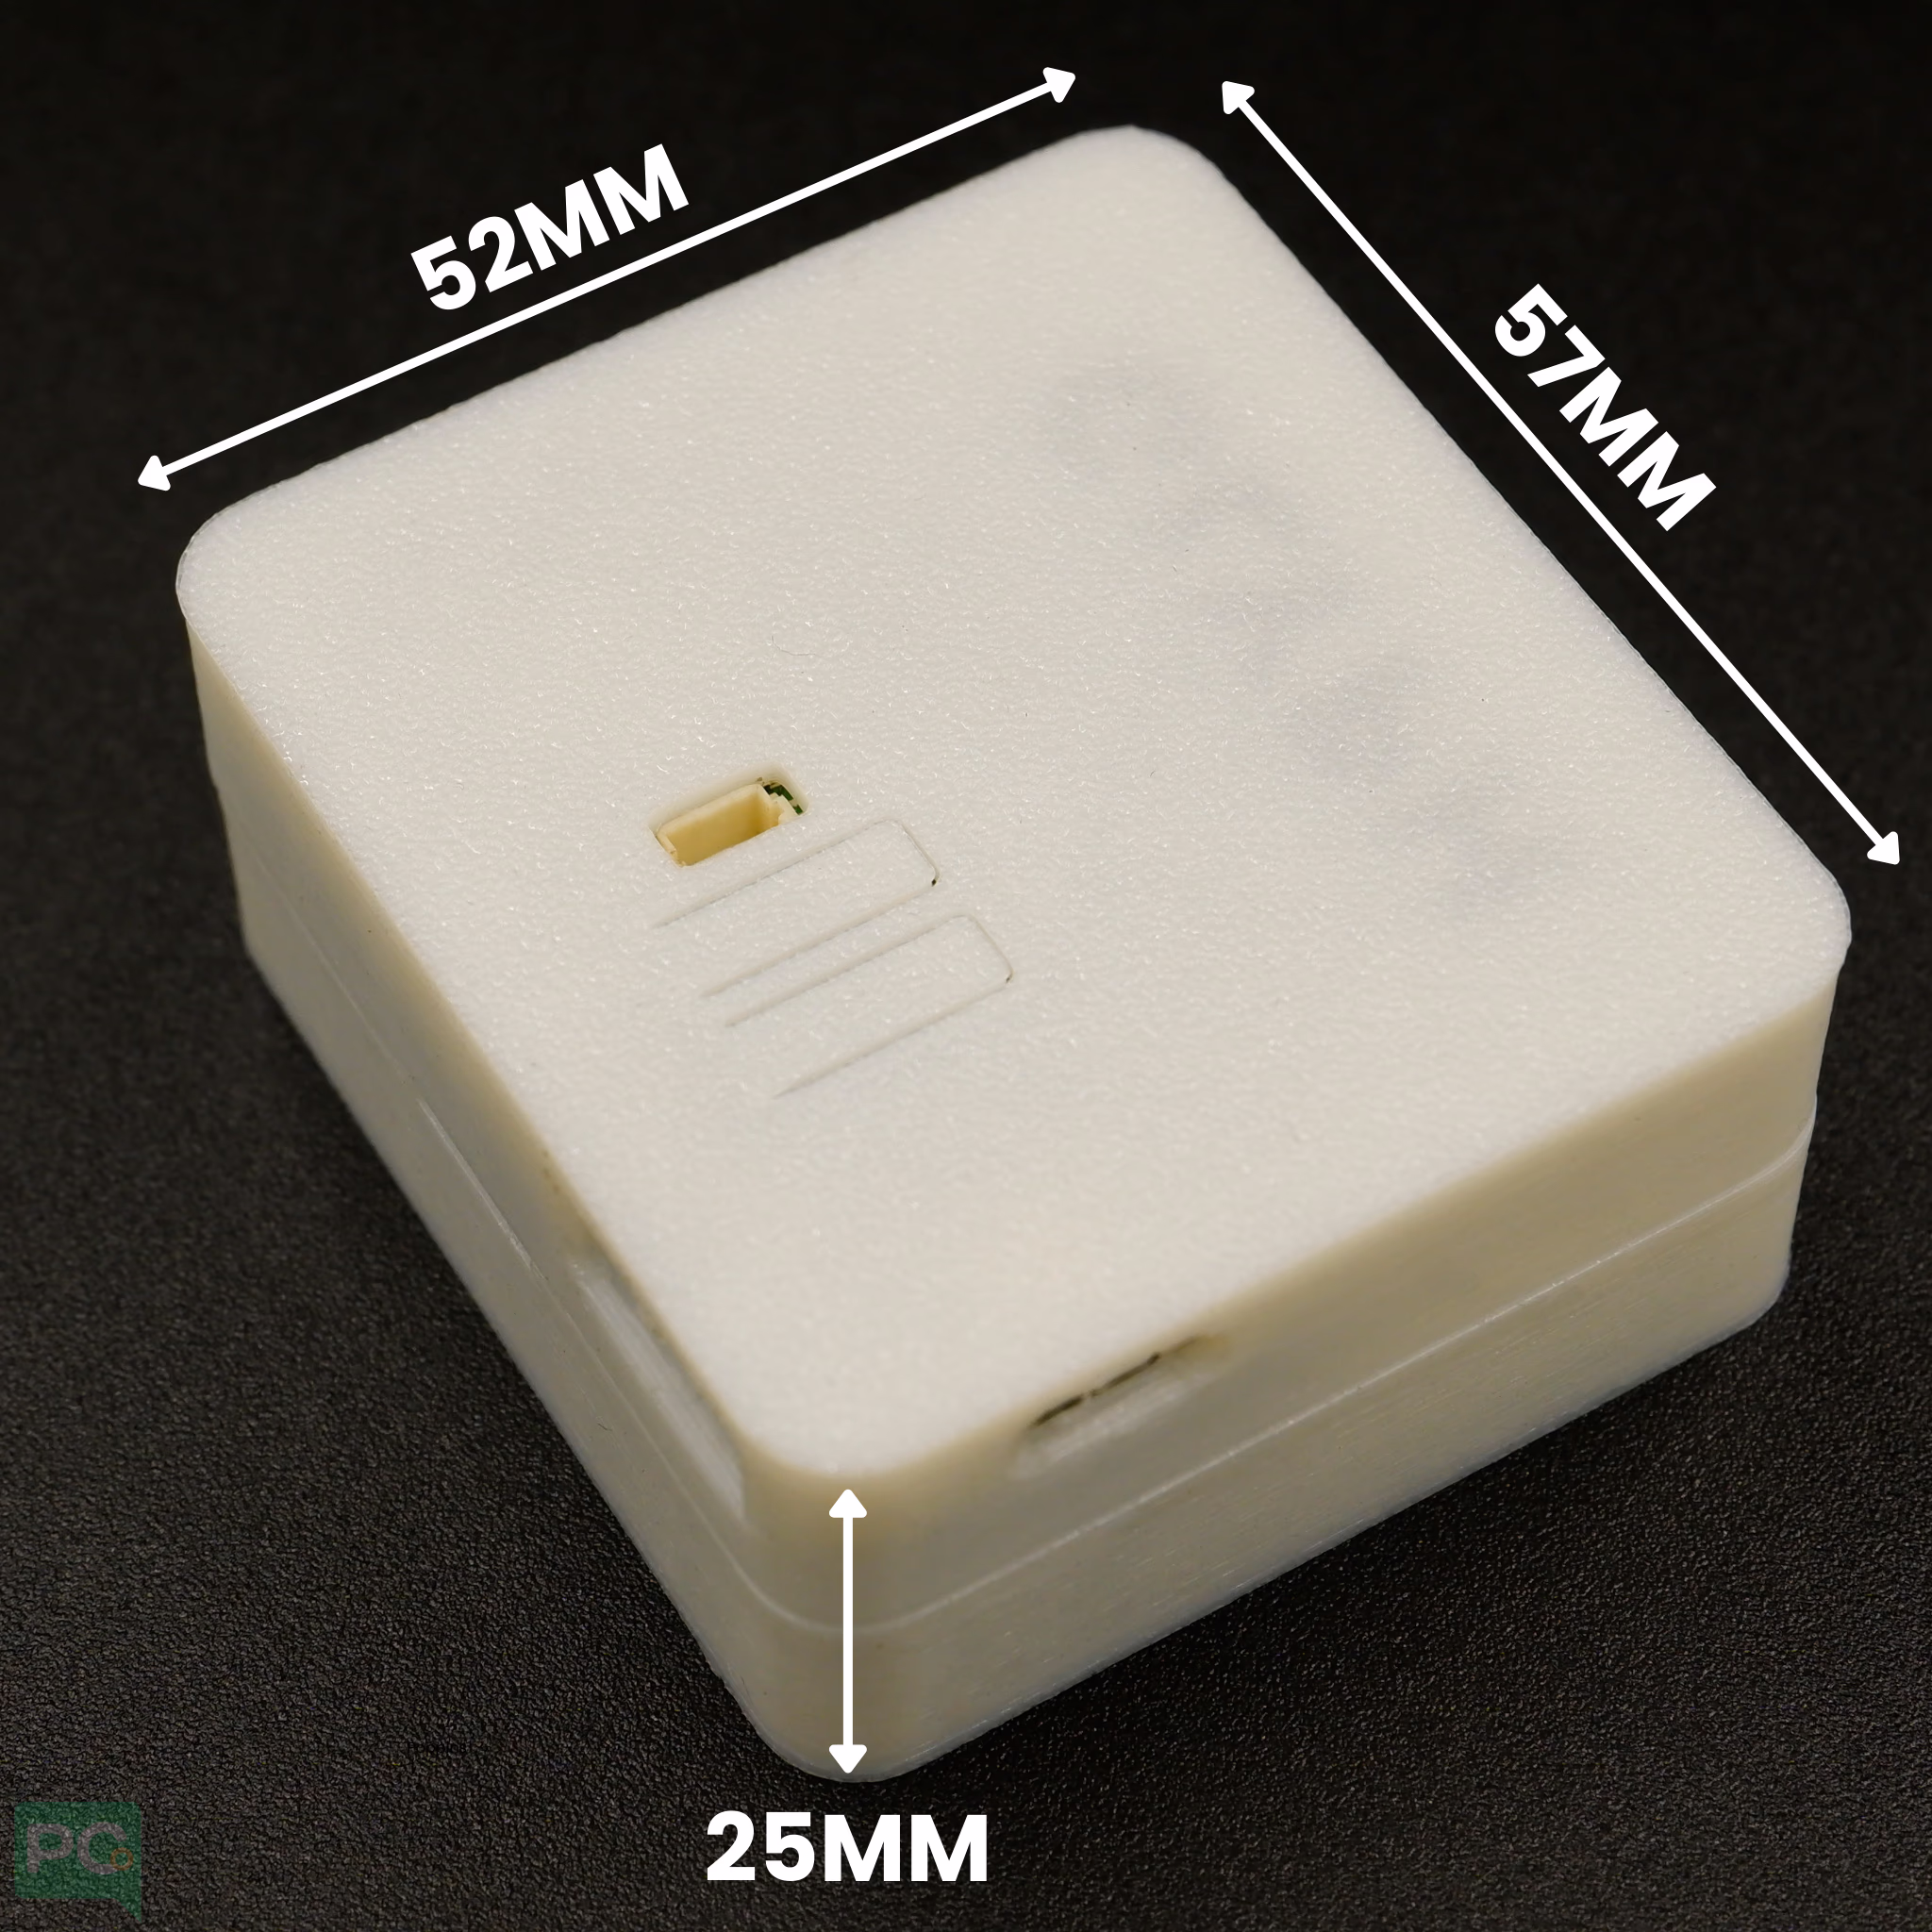
- Width: 52 mm
- Length: 57 mm
- Height: 25 mm
GLYPH Enclosure Assembly Guide
This manual will walk you through the process of securing your PCB into the custom GLYPH enclosure. The design features integrated brass inserts for a secure, professional fit. Step 1: Prepare the Bottom Housing Place the bottom half of the enclosure on a flat surface. You will notice four gold-colored brass heat-set inserts in the corners. These are designed to hold the mounting screws for your board.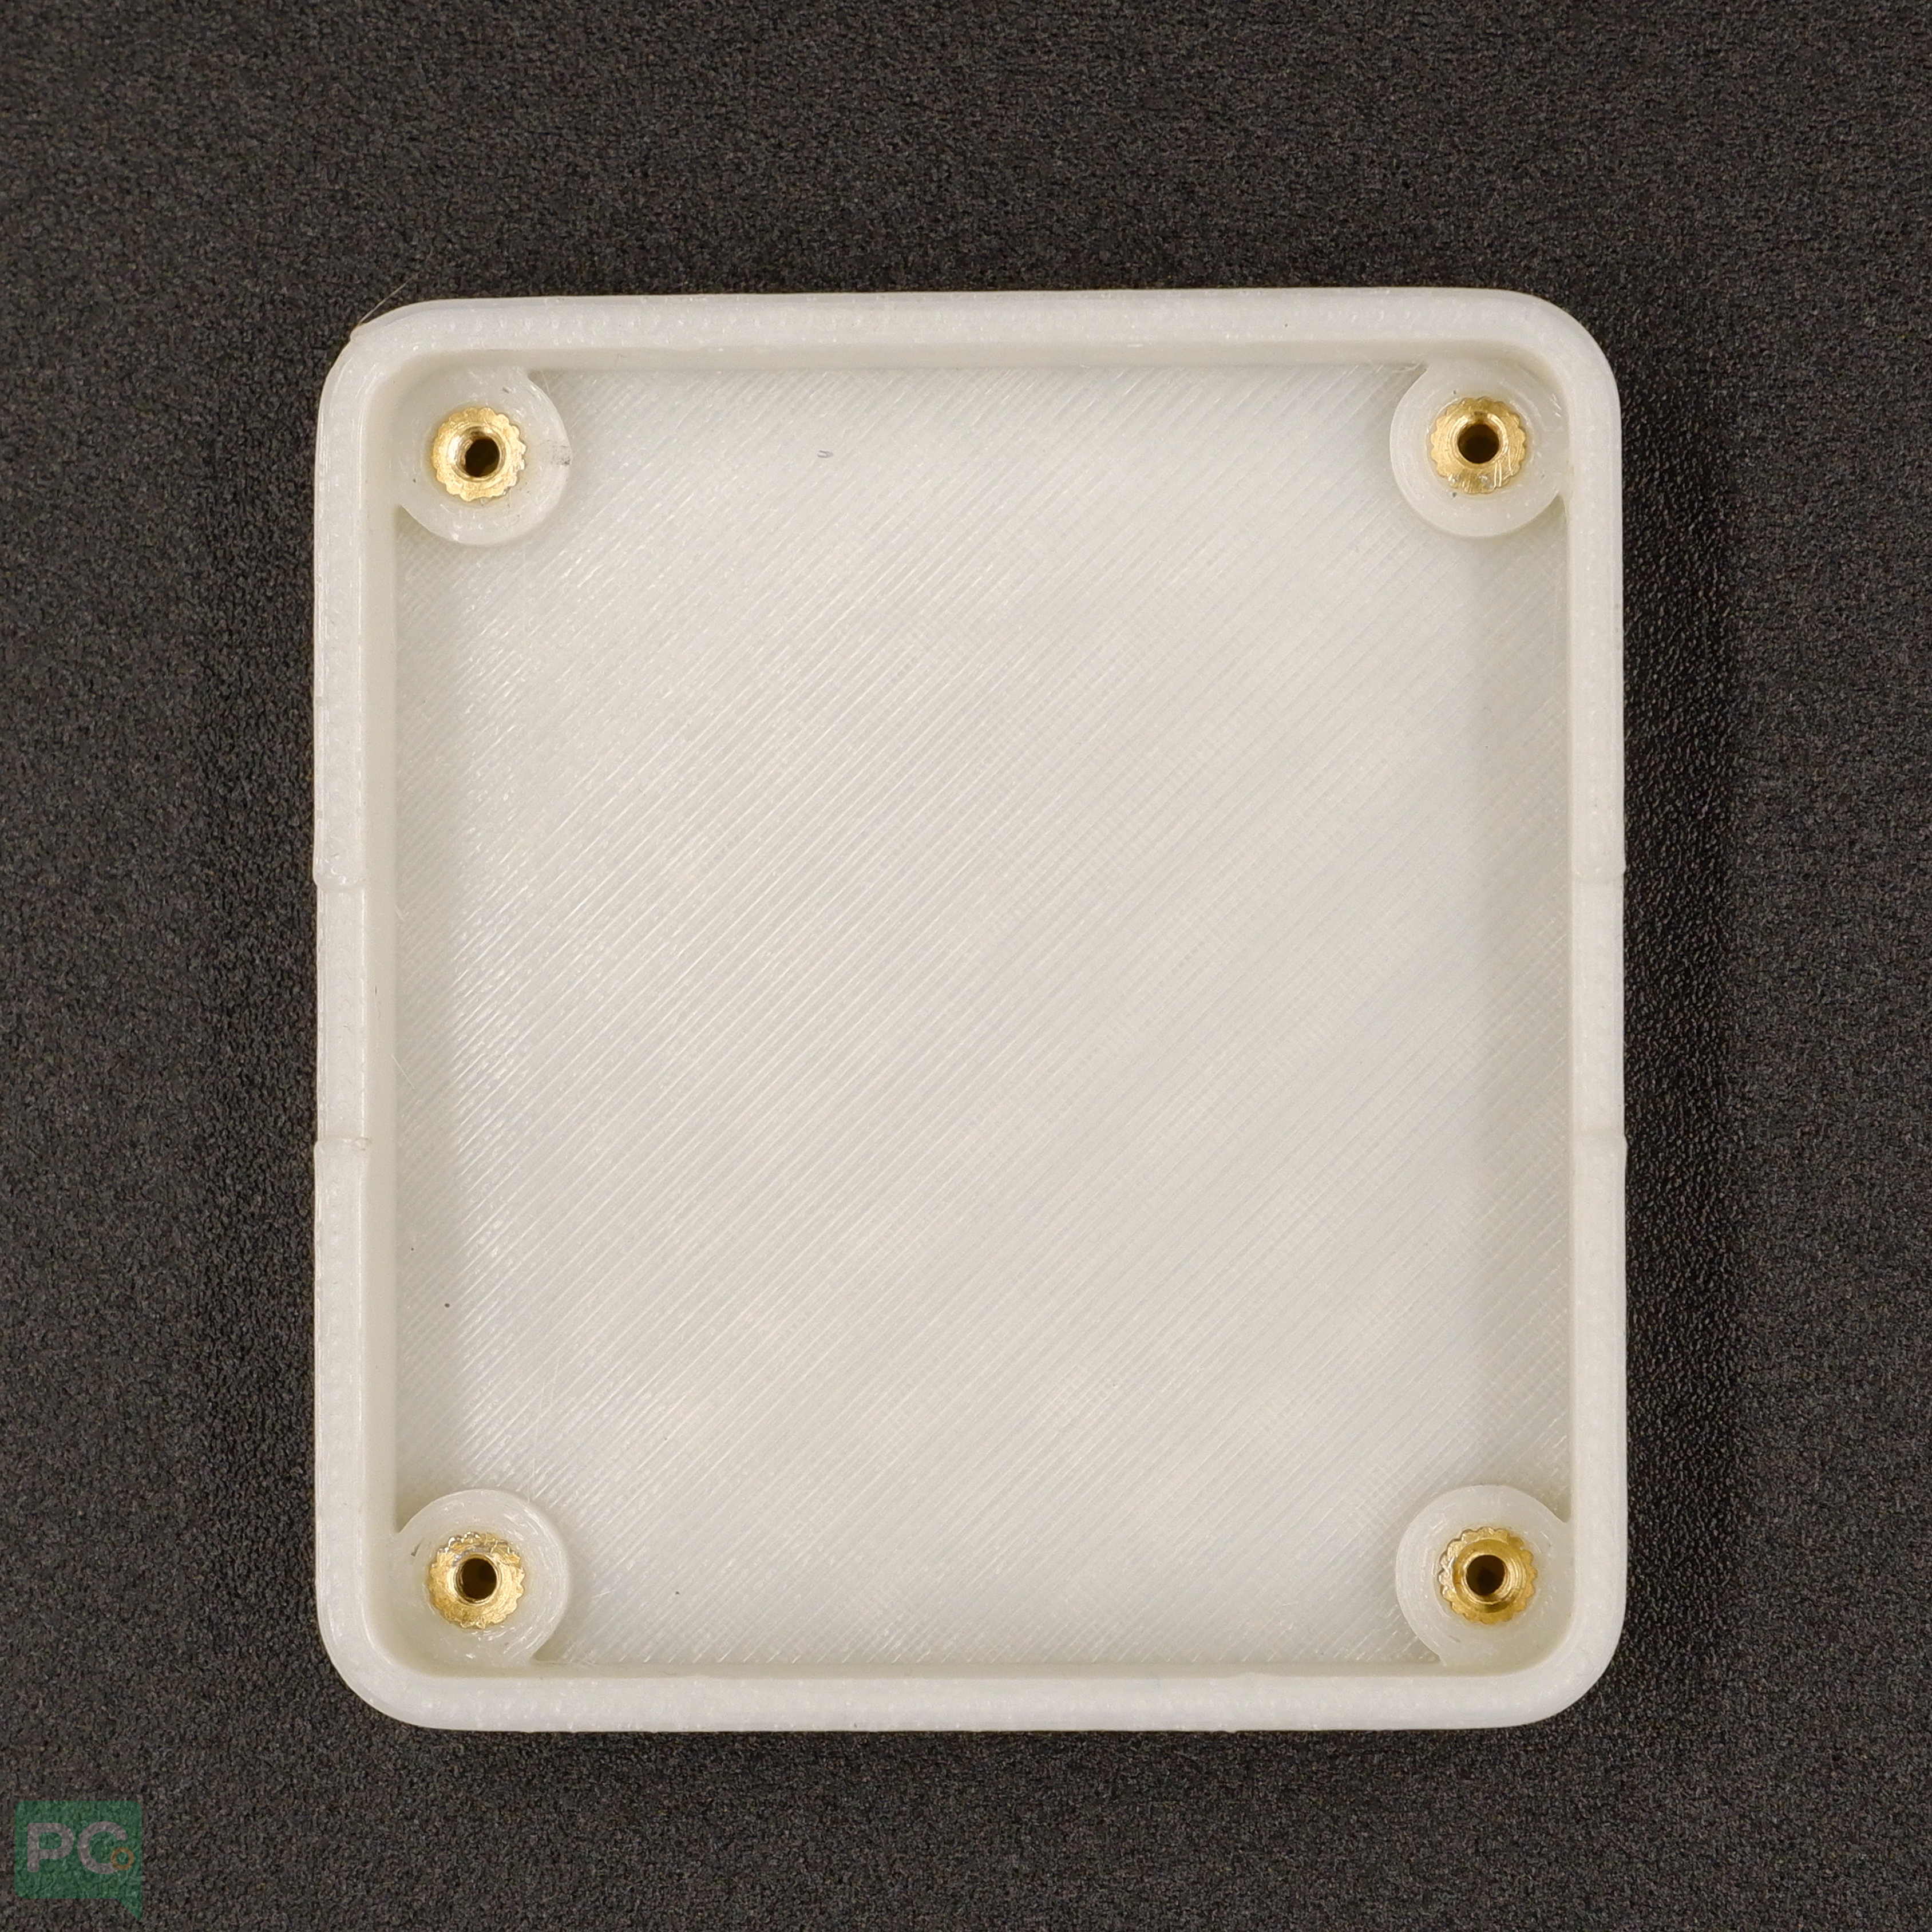 Step 2: Align the PCB
Lower your PCB into the bottom housing. Align the mounting holes on the corners of your PCB with the brass inserts in the enclosure.
Step 2: Align the PCB
Lower your PCB into the bottom housing. Align the mounting holes on the corners of your PCB with the brass inserts in the enclosure.
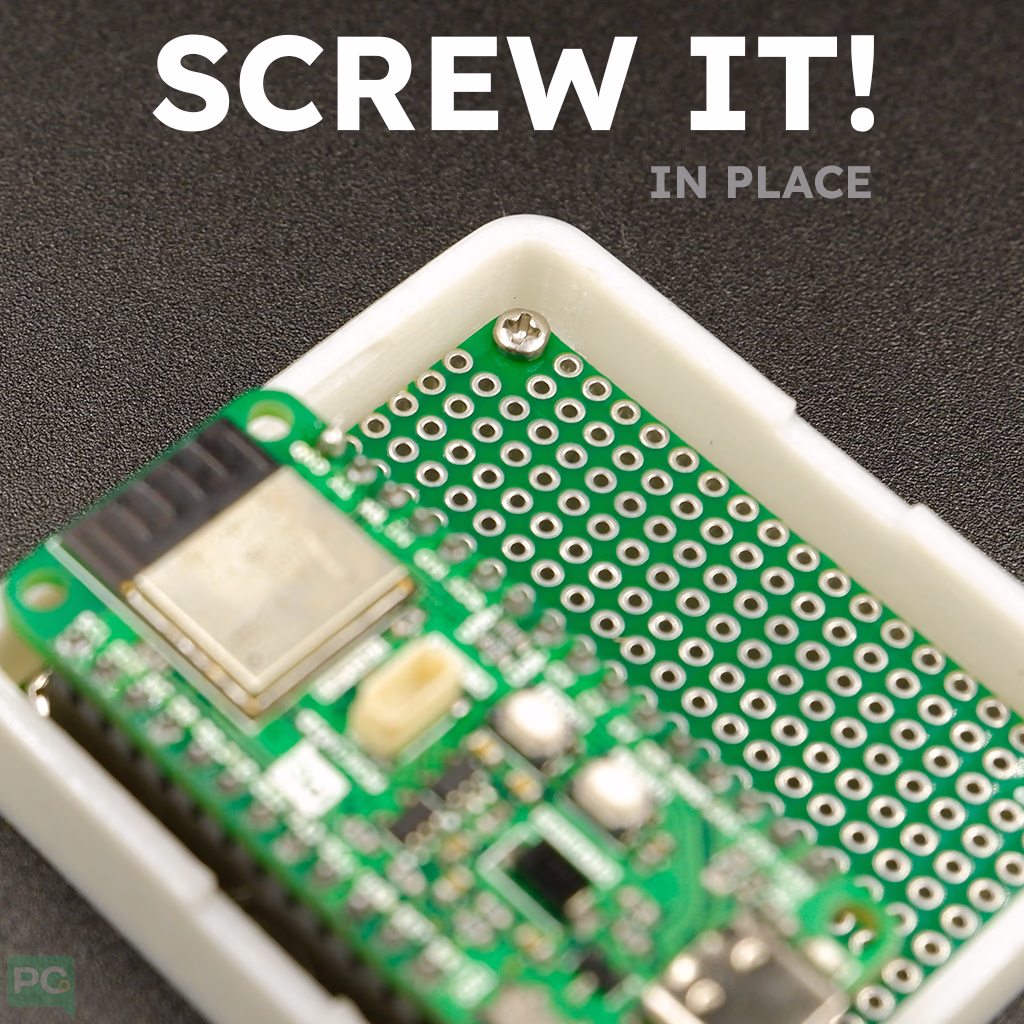
Ensure any ports (like USB or power) are facing the corresponding cutouts on the side of the enclosure wall.Step 3: Secure the Board Using small Phillips head screws, fasten the PCB to the enclosure. Tighten gently: Turn until you feel resistance. Do not over-tighten, as this could crack the 3D-printed plastic or damage the PCB. Step 4: Fit the Top Cover Take the top cover (the piece featuring the “GLYPH” logo) and align it with the bottom base.
- Check that the reset button/switch cutout on the top lid matches the location of the component on your board.
- The lid is designed to snap-fit or sit flush against the bottom rim.
- The 3D printed enclosure is designed to securely house your GLYPH ESP32 board while providing easy access to all pins and connectors.
- Cutouts and ventilation slots are positioned for optimal airflow and usability, keeping the board cool and functional.
- Snap-fit or screw-mount options ensure a stable assembly, giving a satisfying hands-on experience when building and using your project.