> ## Documentation Index
> Fetch the complete documentation index at: https://learn.pcbcupid.com/llms.txt
> Use this file to discover all available pages before exploring further.
> Assemble the Glyph H2 by soldering headers to suit your project. Boards ship fully tested without headers attached for maximum configuration flexibility.
# Assembly
We ship Glyph H2 boards fully tested but without headers attached to give you the most flexibility on how you choose to use and configure your Glyph.
#### Header Options!
Before you start soldering, consider the following options for headers:
**Option 1: Plain Male Headers**
This option lets you plug the Glyph into a solderless breadboard.
{/*  */}
**Option 2: Socket Female Headers**
This option won't let you plug the Glyph into a breadboard but it will let you attach Glyph very easily.
{/*  */}
{/*  */}
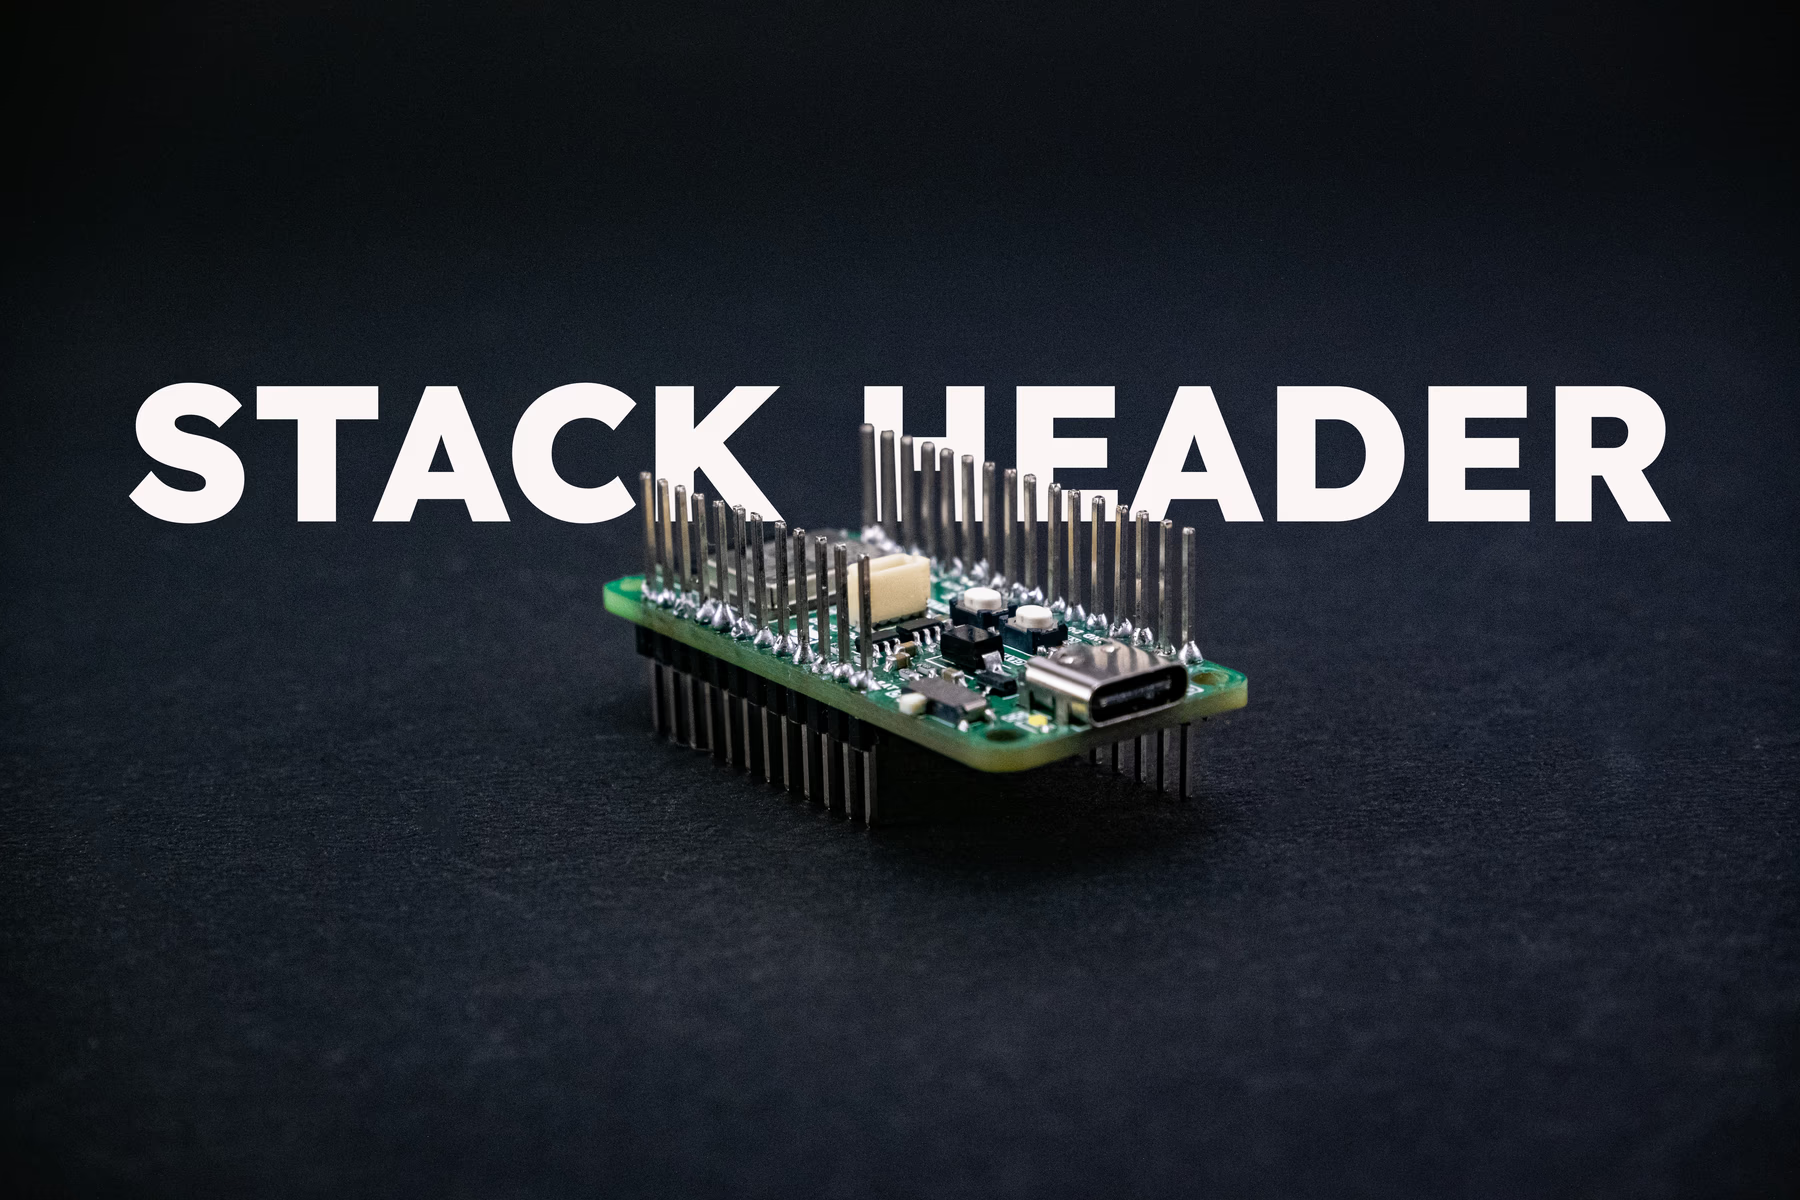
**Option 3: Stacking Headers**
This option is sort of the best-of-both-worlds. You get the ability to plug into a solderless breadboard and plug a Glyph on top. But it's a little bulky.
{/*  */}