> ## Documentation Index
> Fetch the complete documentation index at: https://learn.pcbcupid.com/llms.txt
> Use this file to discover all available pages before exploring further.
> Assemble the Glyph C3 by soldering headers to suit your project. Boards ship fully tested without headers attached for maximum configuration flexibility.
# Assembly
We ship Glyphs fully tested but without headers attached - this gives you the most flexibility on choosing how to use and configure your Glyph.
### Header Options!
Before you start soldering, consider the following options for headers:
**Option 1: Plain Male Headers**
This option lets you plug the Glyph into a solderless breadboard.
{/*  */}
**Option 2: Socket Female Headers**
This option won't let you plug the Glyph into a breadboard but it will let you attach our upcoming glyph module and sensors boards very easily.
This can be helpful if you want to connect this board to other boards using jumper cables.
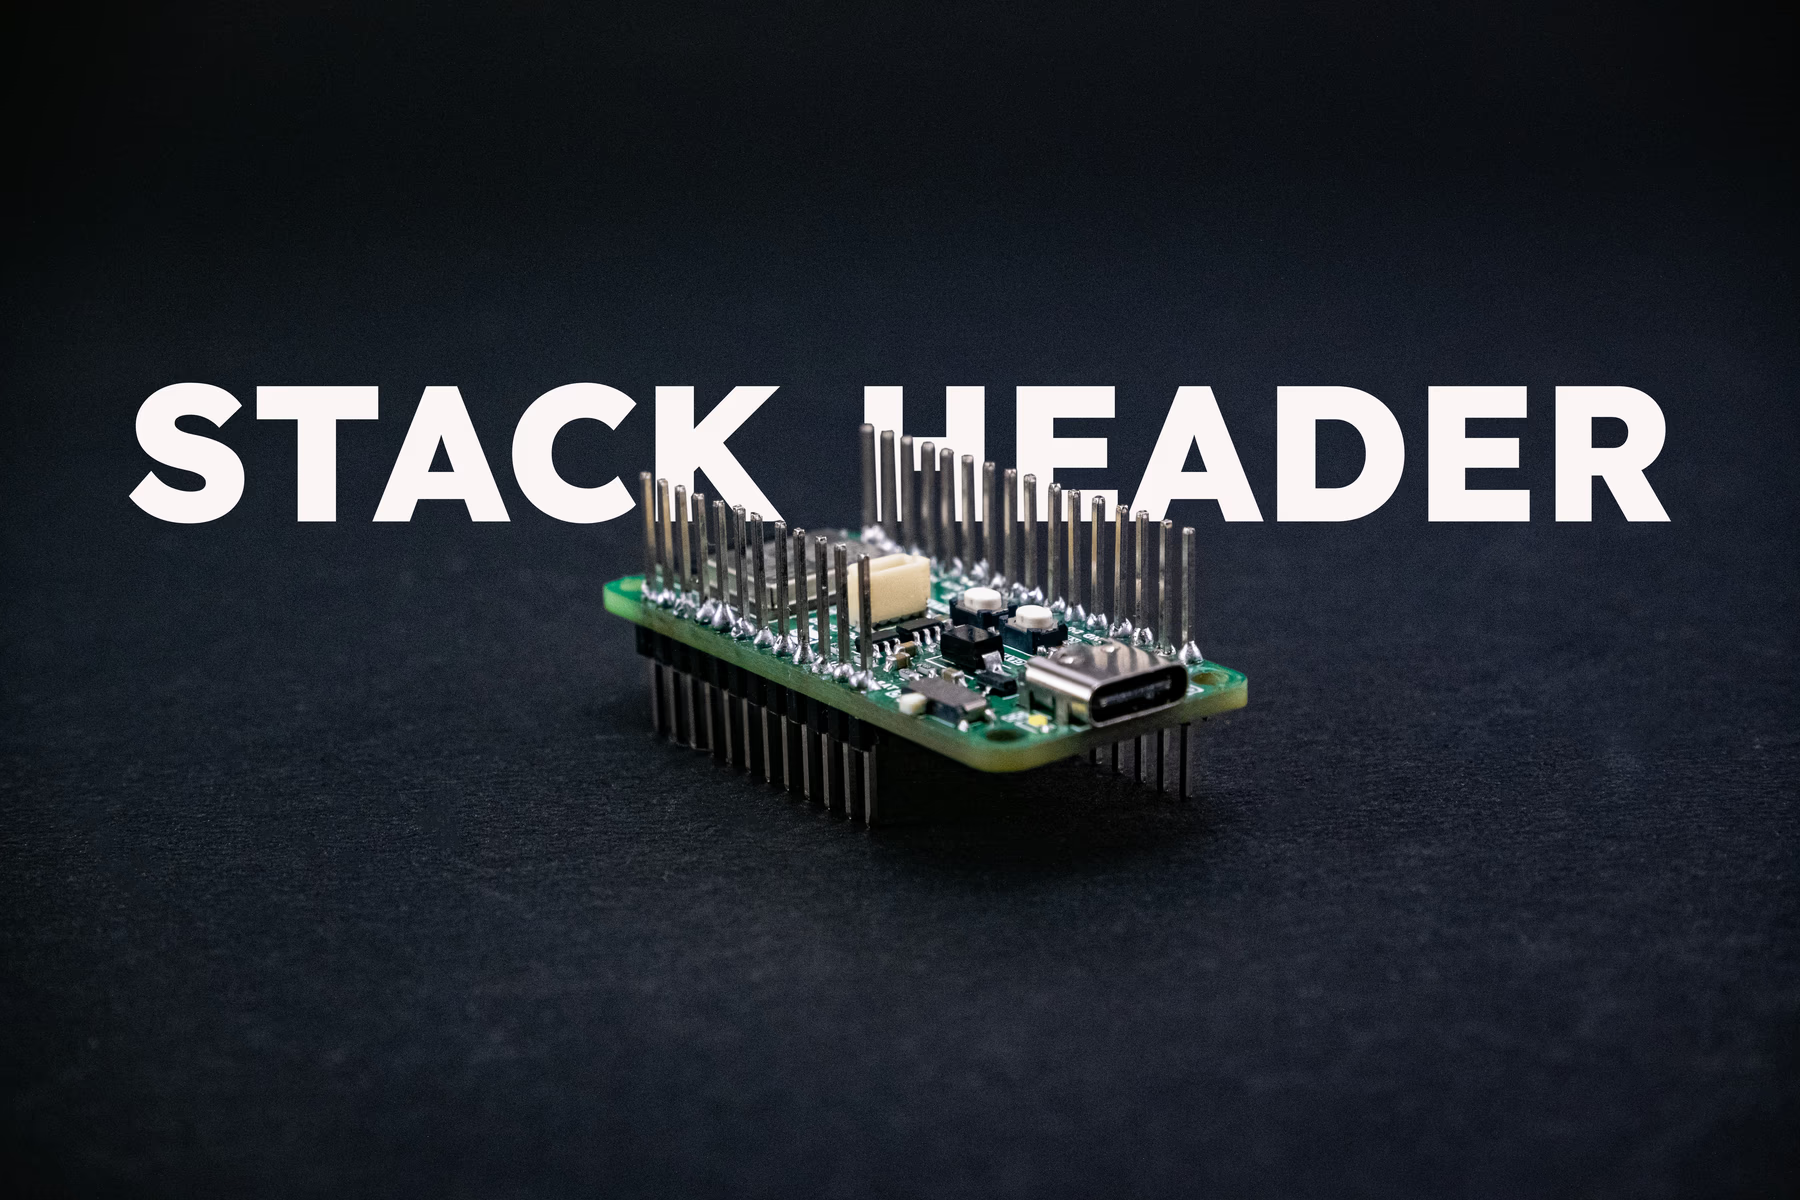
**Option 3: Stacking Headers**
This option is sort of the best-of-both-worlds. You get the ability to plug into a solderless breadboard and plug a GlyphWing on top. But it's a little bulky.
{/*  */}