> ## Documentation Index
> Fetch the complete documentation index at: https://learn.pcbcupid.com/llms.txt
> Use this file to discover all available pages before exploring further.
> WS2812B RGB LED Ring with individually addressable LEDs, full-color effects, and easy control for Arduino, ESP32, and DIY lighting projects.
# WS2812B RGB Ring
export const ShopHeader = ({title, url}) =>
;
};
The **WS2812B** is a compact, addressable RGB LED module that integrates a control circuit and three discrete red, green, and blue LEDs within a single 5050 SMD package, allowing each pixel’s color and brightness to be set independently via a one-wire digital interface. Internally, it employs an integrated driver and a signal reshaping/amplification circuit, enabling daisy-chaining of virtually unlimited numbers of LEDs from a single microcontroller pin. Control is achieved by sending a 24-bit data packet (8 bits per color channel) per LED, with 256 brightness levels per channel.
**Integrated Design**
1. Chip and LED in one: The WS2812B package embeds both the RGB LEDs and the control IC, simplifying circuit design by eliminating the need for separate driver components
2. 5050 SMD footprint: Common “5050” size (5 mm × 5 mm), compatible with standard LED strip layouts and modules
3. Power and Data- Power: Operates typically at 5 V DC, with a maximum recommended current draw of \~60 mA per LED at full white (all colors at maximum brightness)
4. Data line: A single input (DIN) and output (DOUT) pin carry the high-speed data stream; the protocol embeds timing for “0” and “1” bits directly in signal pulse widths
## Pin configuration
* GND : GND
* VCC : 5V
* DI : (DATA IN) Any GPIO pin
* DO : (DATA OUT) chain to DI of other ring
## Features
1. Individually addressable: Each LED module responds only to its specific 24-bit data, so you can set unique colors for each pixel in a chain
2. High color resolution: 8 bits per channel → 16.7 million possible colors per LED
3. Cascading capability: The DOUT of one LED links to the DIN of the next, allowing long chains (hundreds or thousands of LEDs) from a single microcontroller pin
4. Built-in signal reshaping: Ensures clean, consistent data transmission through long strips without external repeaters
Data is sent as a continuous stream of 24 bits per LED (G7…G0, R7…R0, B7…B0). Timing-sensitive pulses distinguish “0” and “1” bits, typically requiring precise.
## Applications
* LED strips and matrices for decorative lighting, signage, and art installations
* Wearable electronics where flexible, addressable lighting is desired
* Commercial displays and props that require per-pixel animation without bulky wiring
* These modules’ simplicity and rich feature set have made the WS2812B a de facto standard in hobbyist and professional addressable LED applications.
## WS2812B CONCENTRIC CIRCLE RING
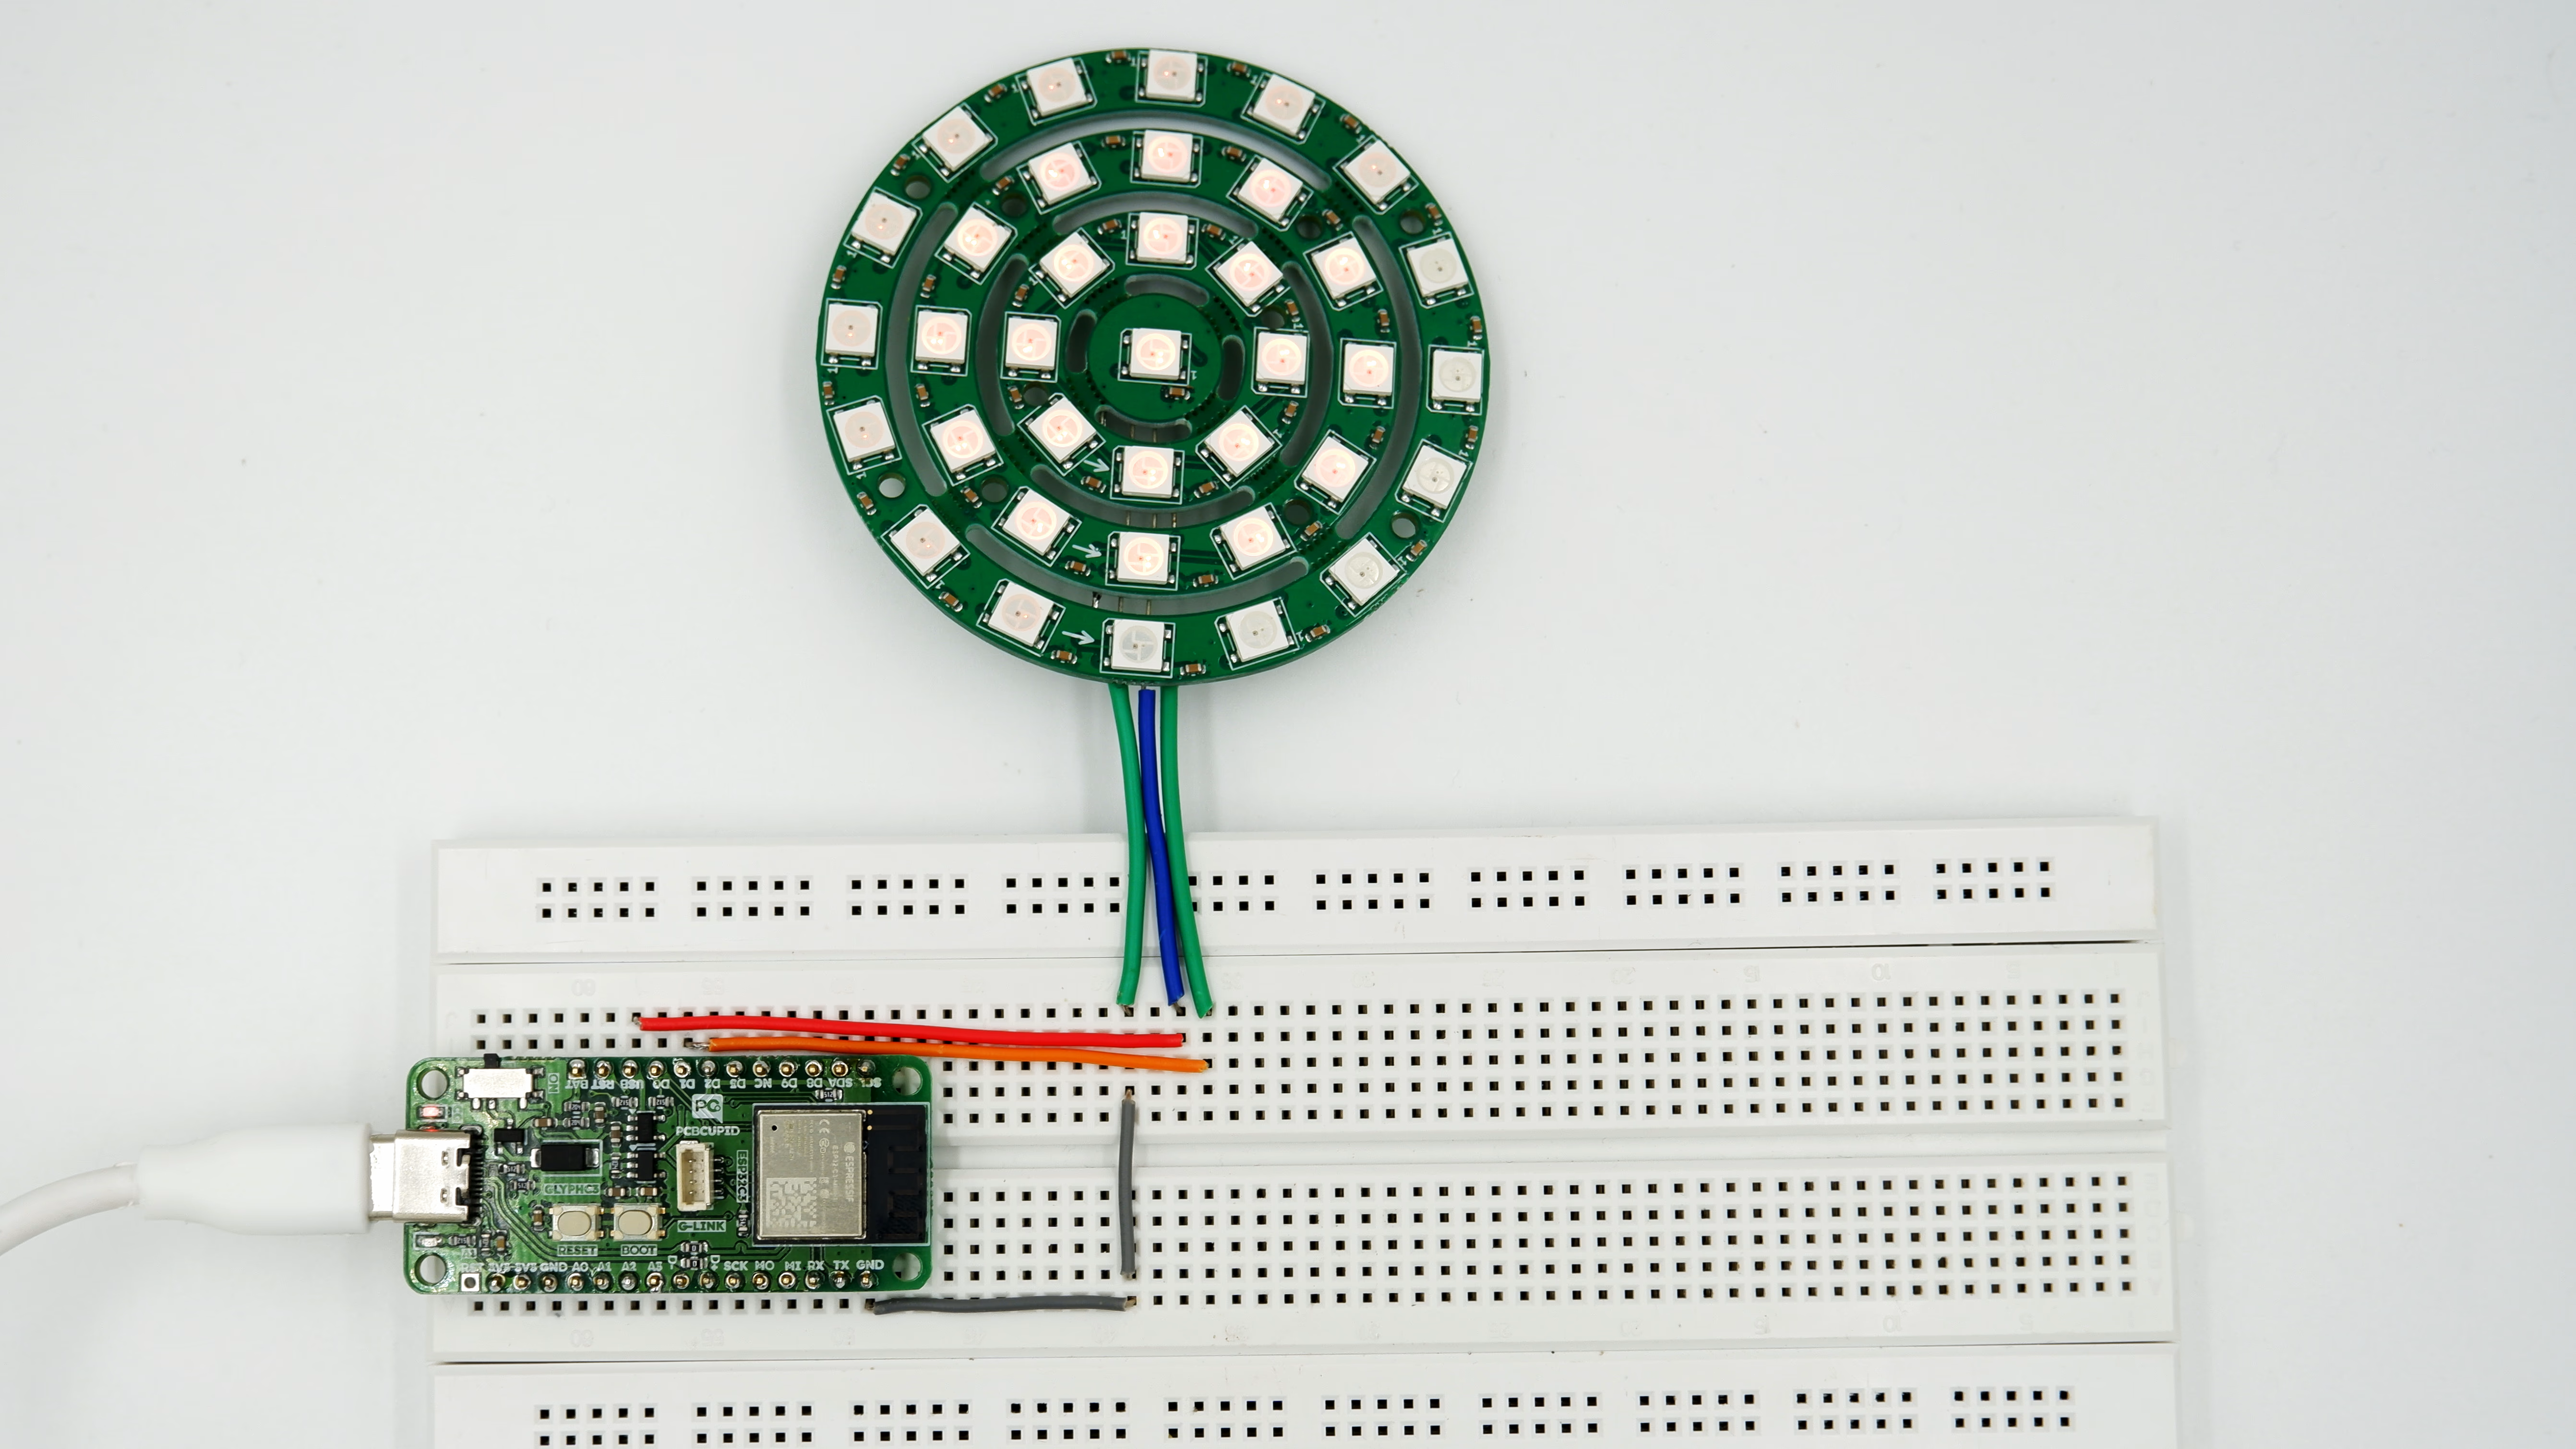
The [G-MOD WS2812B](https://shop.pcbcupid.com/product/gm006/) circular LED module is designed with three concentric rings of addressable RGB LEDs. Power (VCC, GND) is distributed across all LEDs in parallel. The data signal (DIN) enters from the solder pads at the bottom, drives the innermost ring first, and then cascades outward ring by ring. The final LED in the outer ring routes its data out to the DO pad, allowing multiple modules to be chained together.
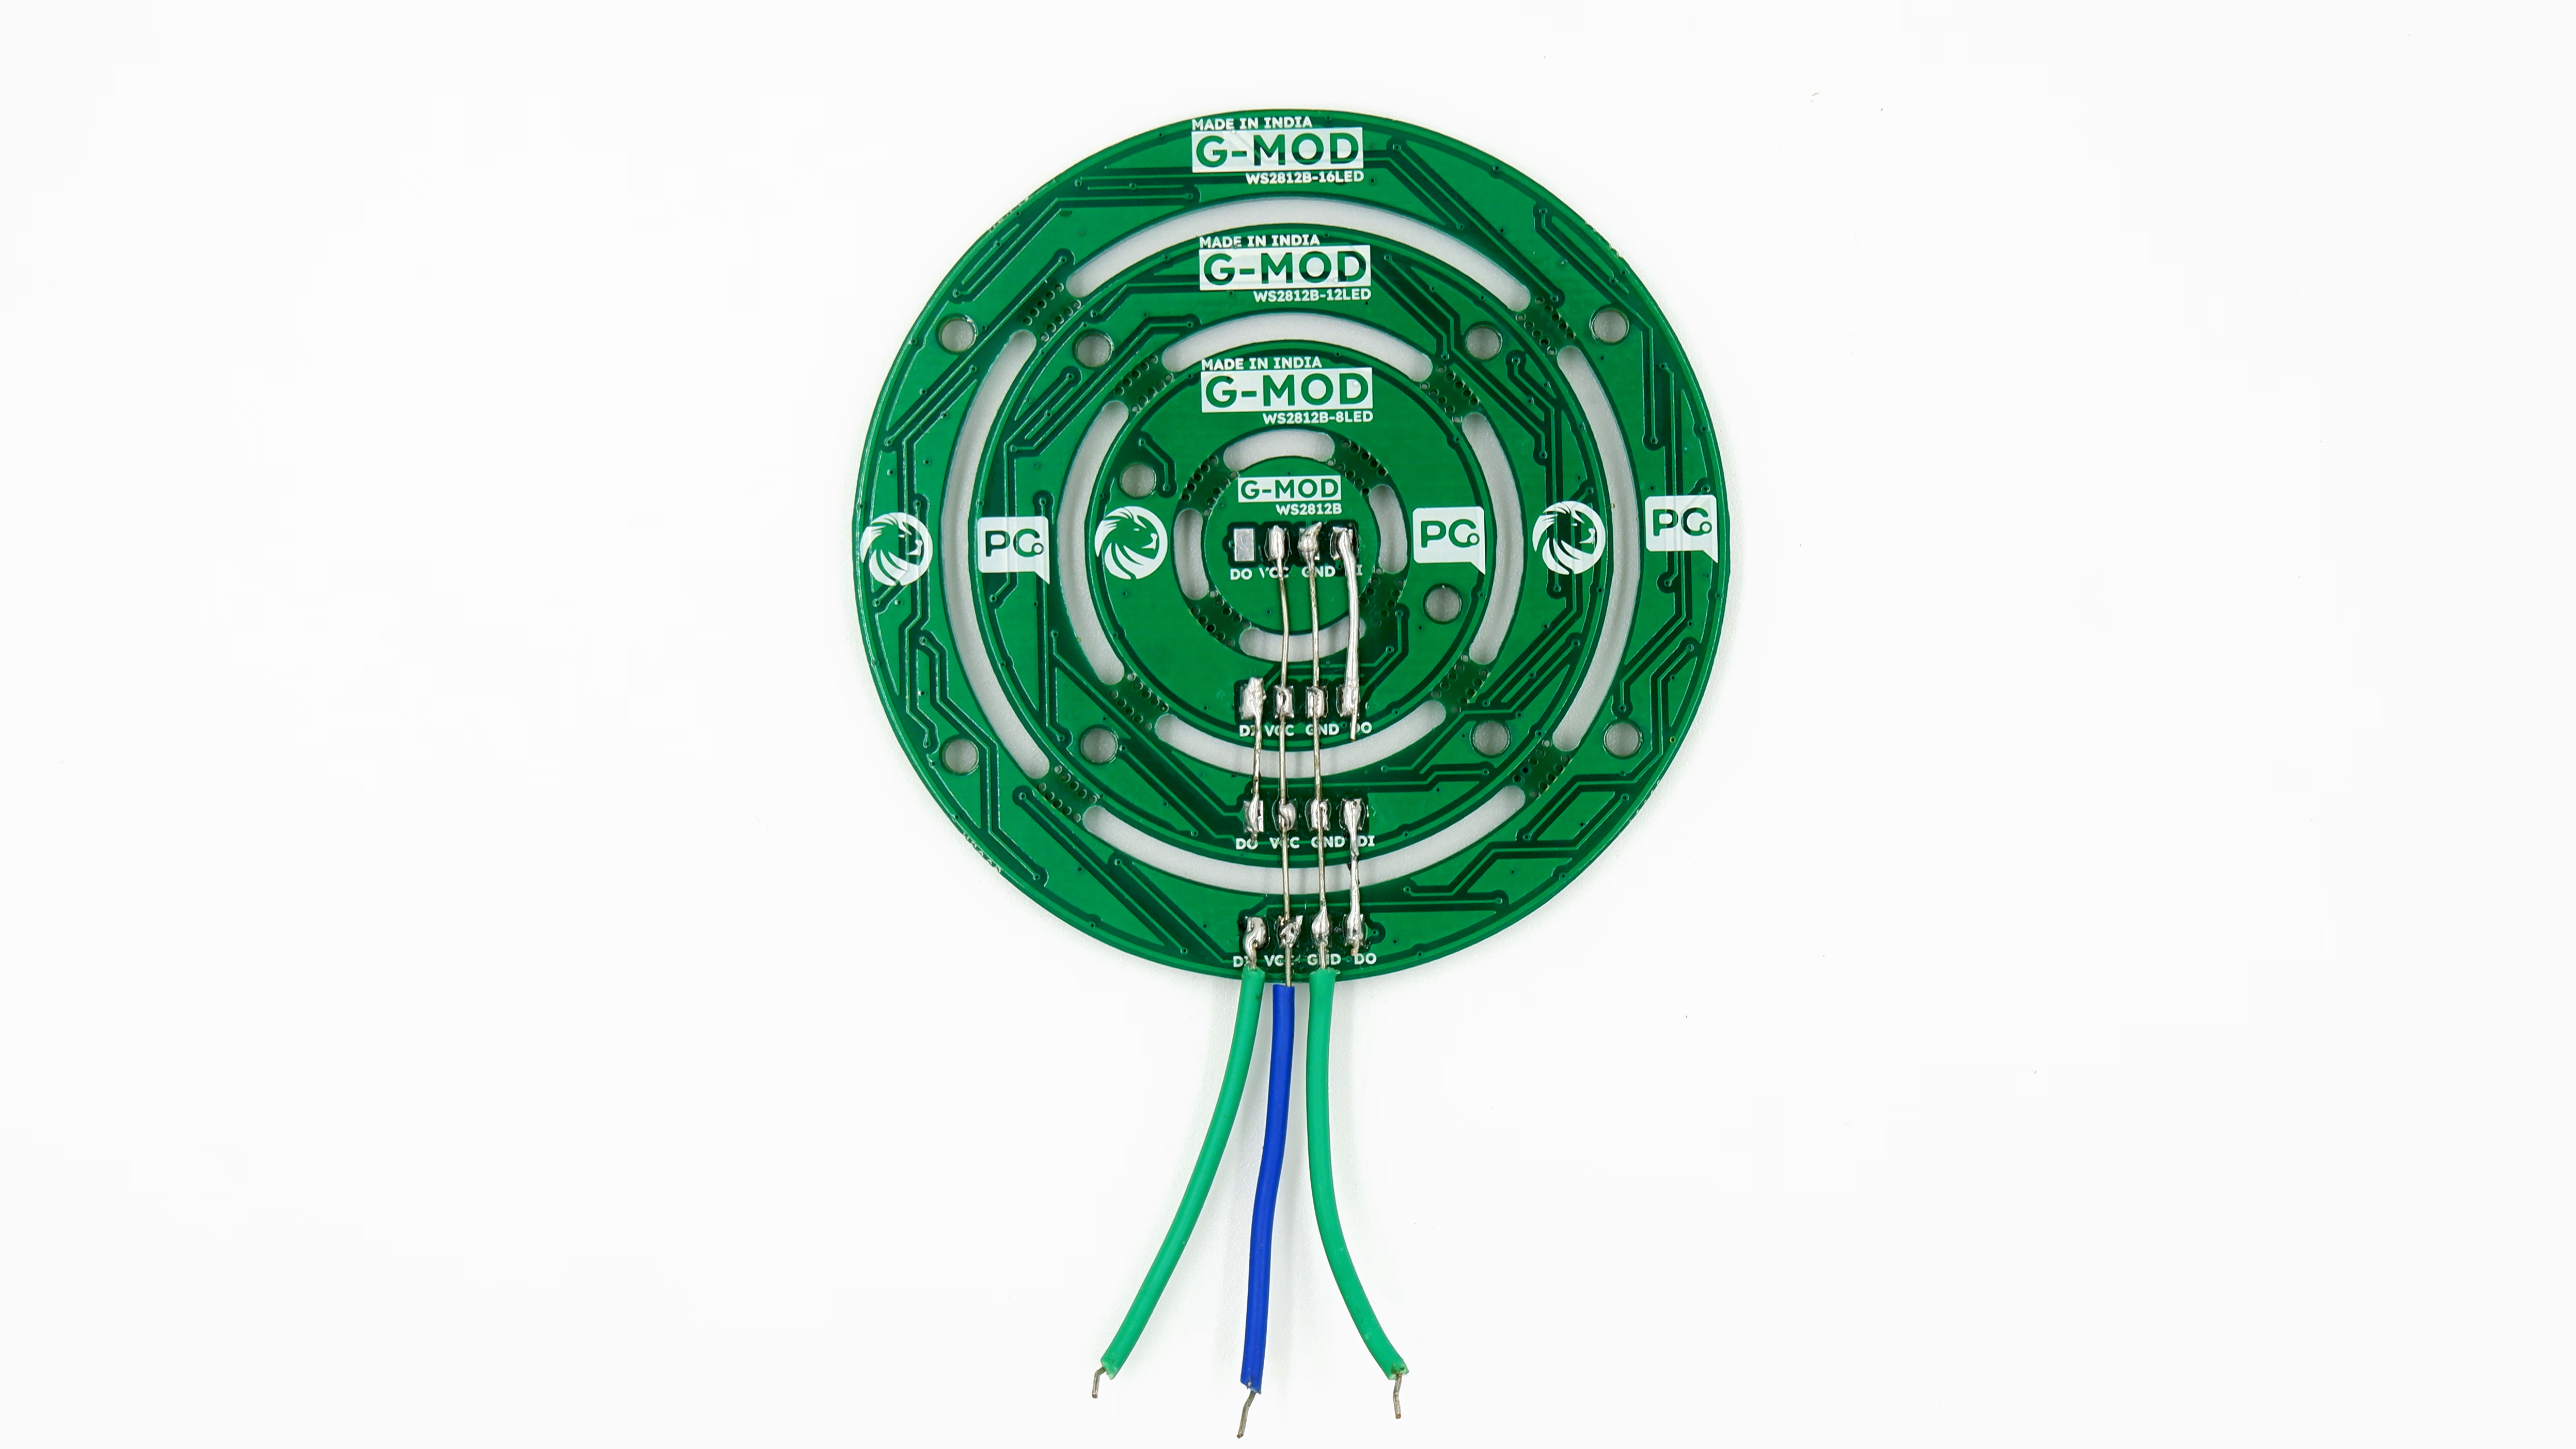
Inside the PCB, three solder jumpers connect the concentric LED rings. These bridges carry power (VCC), ground (GND), and the serial data signal outward from the inner ring to the outer rings. This ensures all LEDs are powered in parallel, while the WS2812B data chain cascades ring-by-ring.
### Step 1: Hardware Required
1. GLYPH
2. WS2812B RGB LED RING
### Step 2: Circuit Diagram

### Step 3: Code Setup
```cpp theme={null}
#include
#define LED_PIN 1 // Pin where NeoPixel strip is connected
#define LED_COUNT 37 // Number of LEDs in strip
Adafruit_NeoPixel strip(LED_COUNT, LED_PIN, NEO_GRB + NEO_KHZ800);
// Define 5 colors (R, G, B)
uint32_t colors[5];
void setup() {
strip.begin();
strip.setBrightness(50); // Brightness (0-255)
// Prepare the colors
colors[0] = strip.Color(255, 0, 0); // Red
colors[1] = strip.Color(0, 255, 0); // Green
colors[2] = strip.Color(0, 0, 255); // Blue
colors[3] = strip.Color(255, 255, 0); // Yellow
colors[4] = strip.Color(255, 0, 255); // Magenta
strip.show(); // Initialize all pixels to off
}
void loop() {
for (int i = 0; i < 5; i++) { // Loop through all 5 colors
setAllColor(colors[i]); // Set all LEDs to the current color
delay(1000); // Keep it for 1 second
}
}
// Function to set all LEDs to one color
void setAllColor(uint32_t color) {
for (int j = 0; j < LED_COUNT; j++) {
strip.setPixelColor(j, color);
}
strip.show();
}
```
### Step 4: Upload the Code
1. **Connect the Board**
* Connect your GLYPH board to your computer
2. **Select the Board and Port**
Do the following settings in your Arduino IDE,
* `Tools > Board > esp32 > Pcbcupid Glyph S3`
For the `Pcbcupid Glyph S3 ` to appear under `Tools > Board > esp32`, the esp32 board version installed in the Arduino IDE should be greater or equal to 3.1.0.
* `Tools > Port` and select the port connected to your GLYPH.
* `Tools > USB CDC on Boot >` ***Enabled***
If `USB CDC on BOOT` not enabled, you won't be seeing any serial data on Arduino IDE.
3. **Upload the Code**
* Click the upload button (➡️ icon) or use the shortcut `CRTL + U` in Arduino IDE to upload the code to the board.
### Step 5: Observe the Output
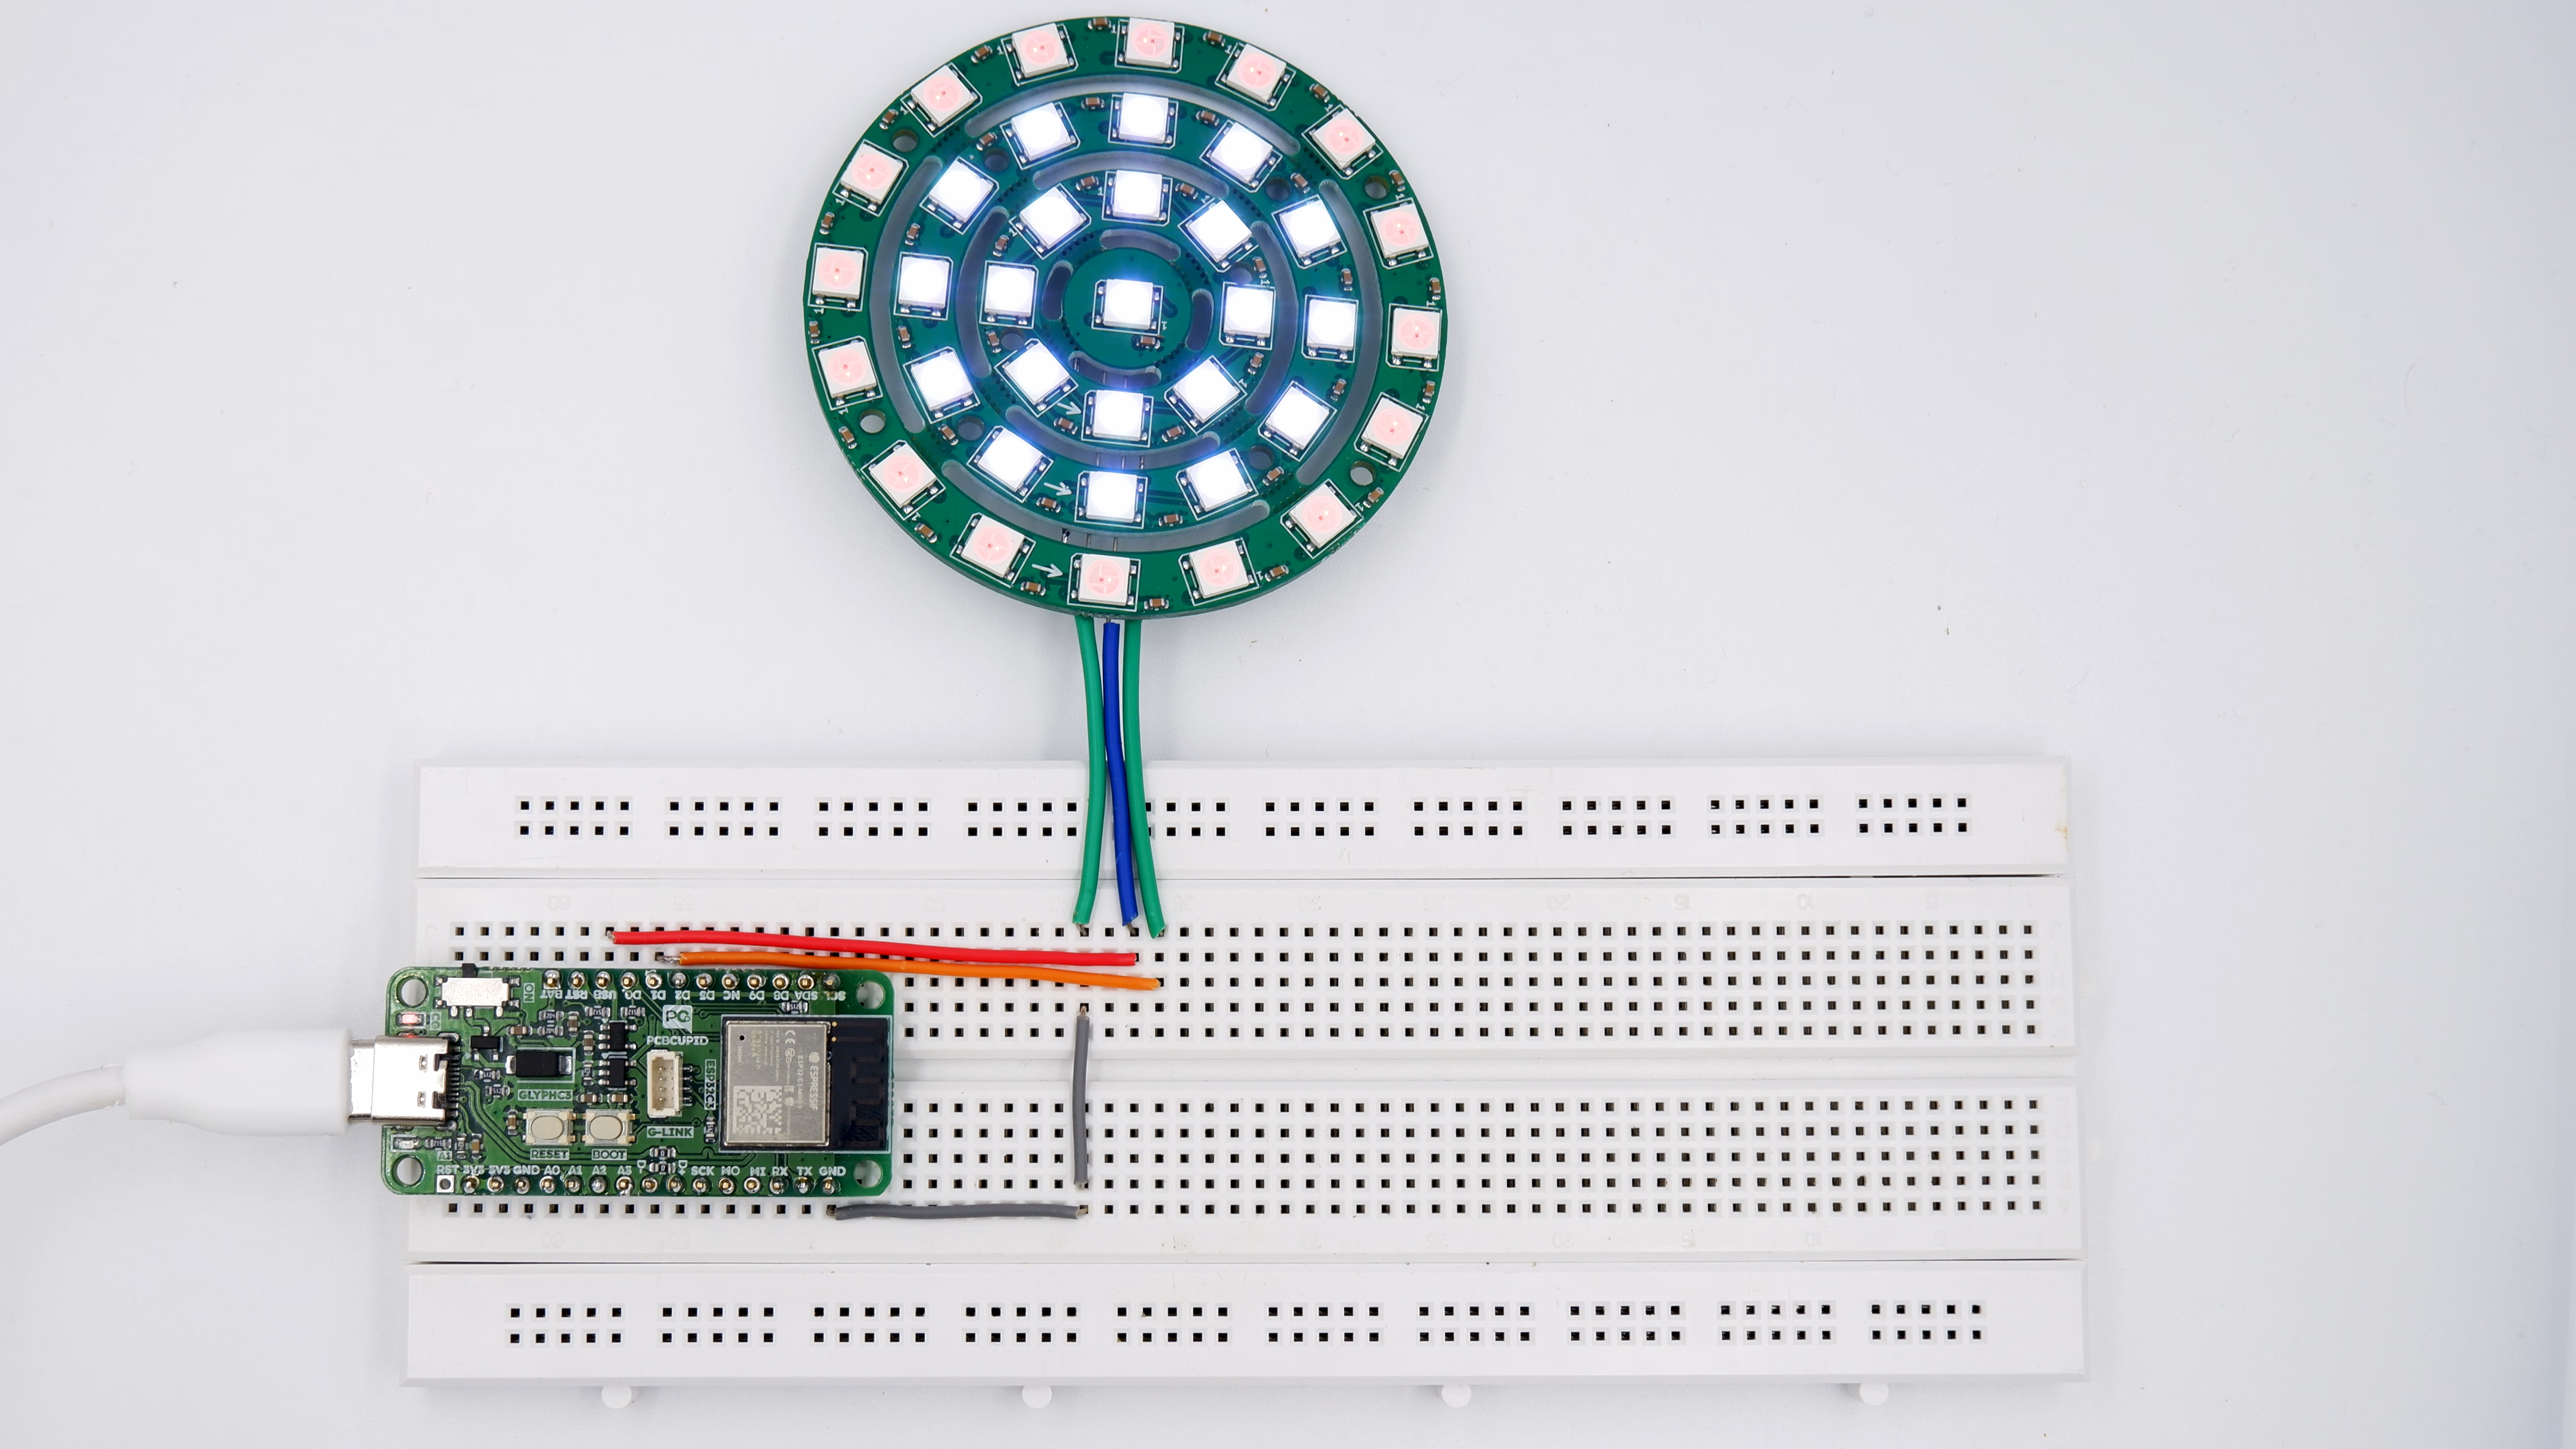
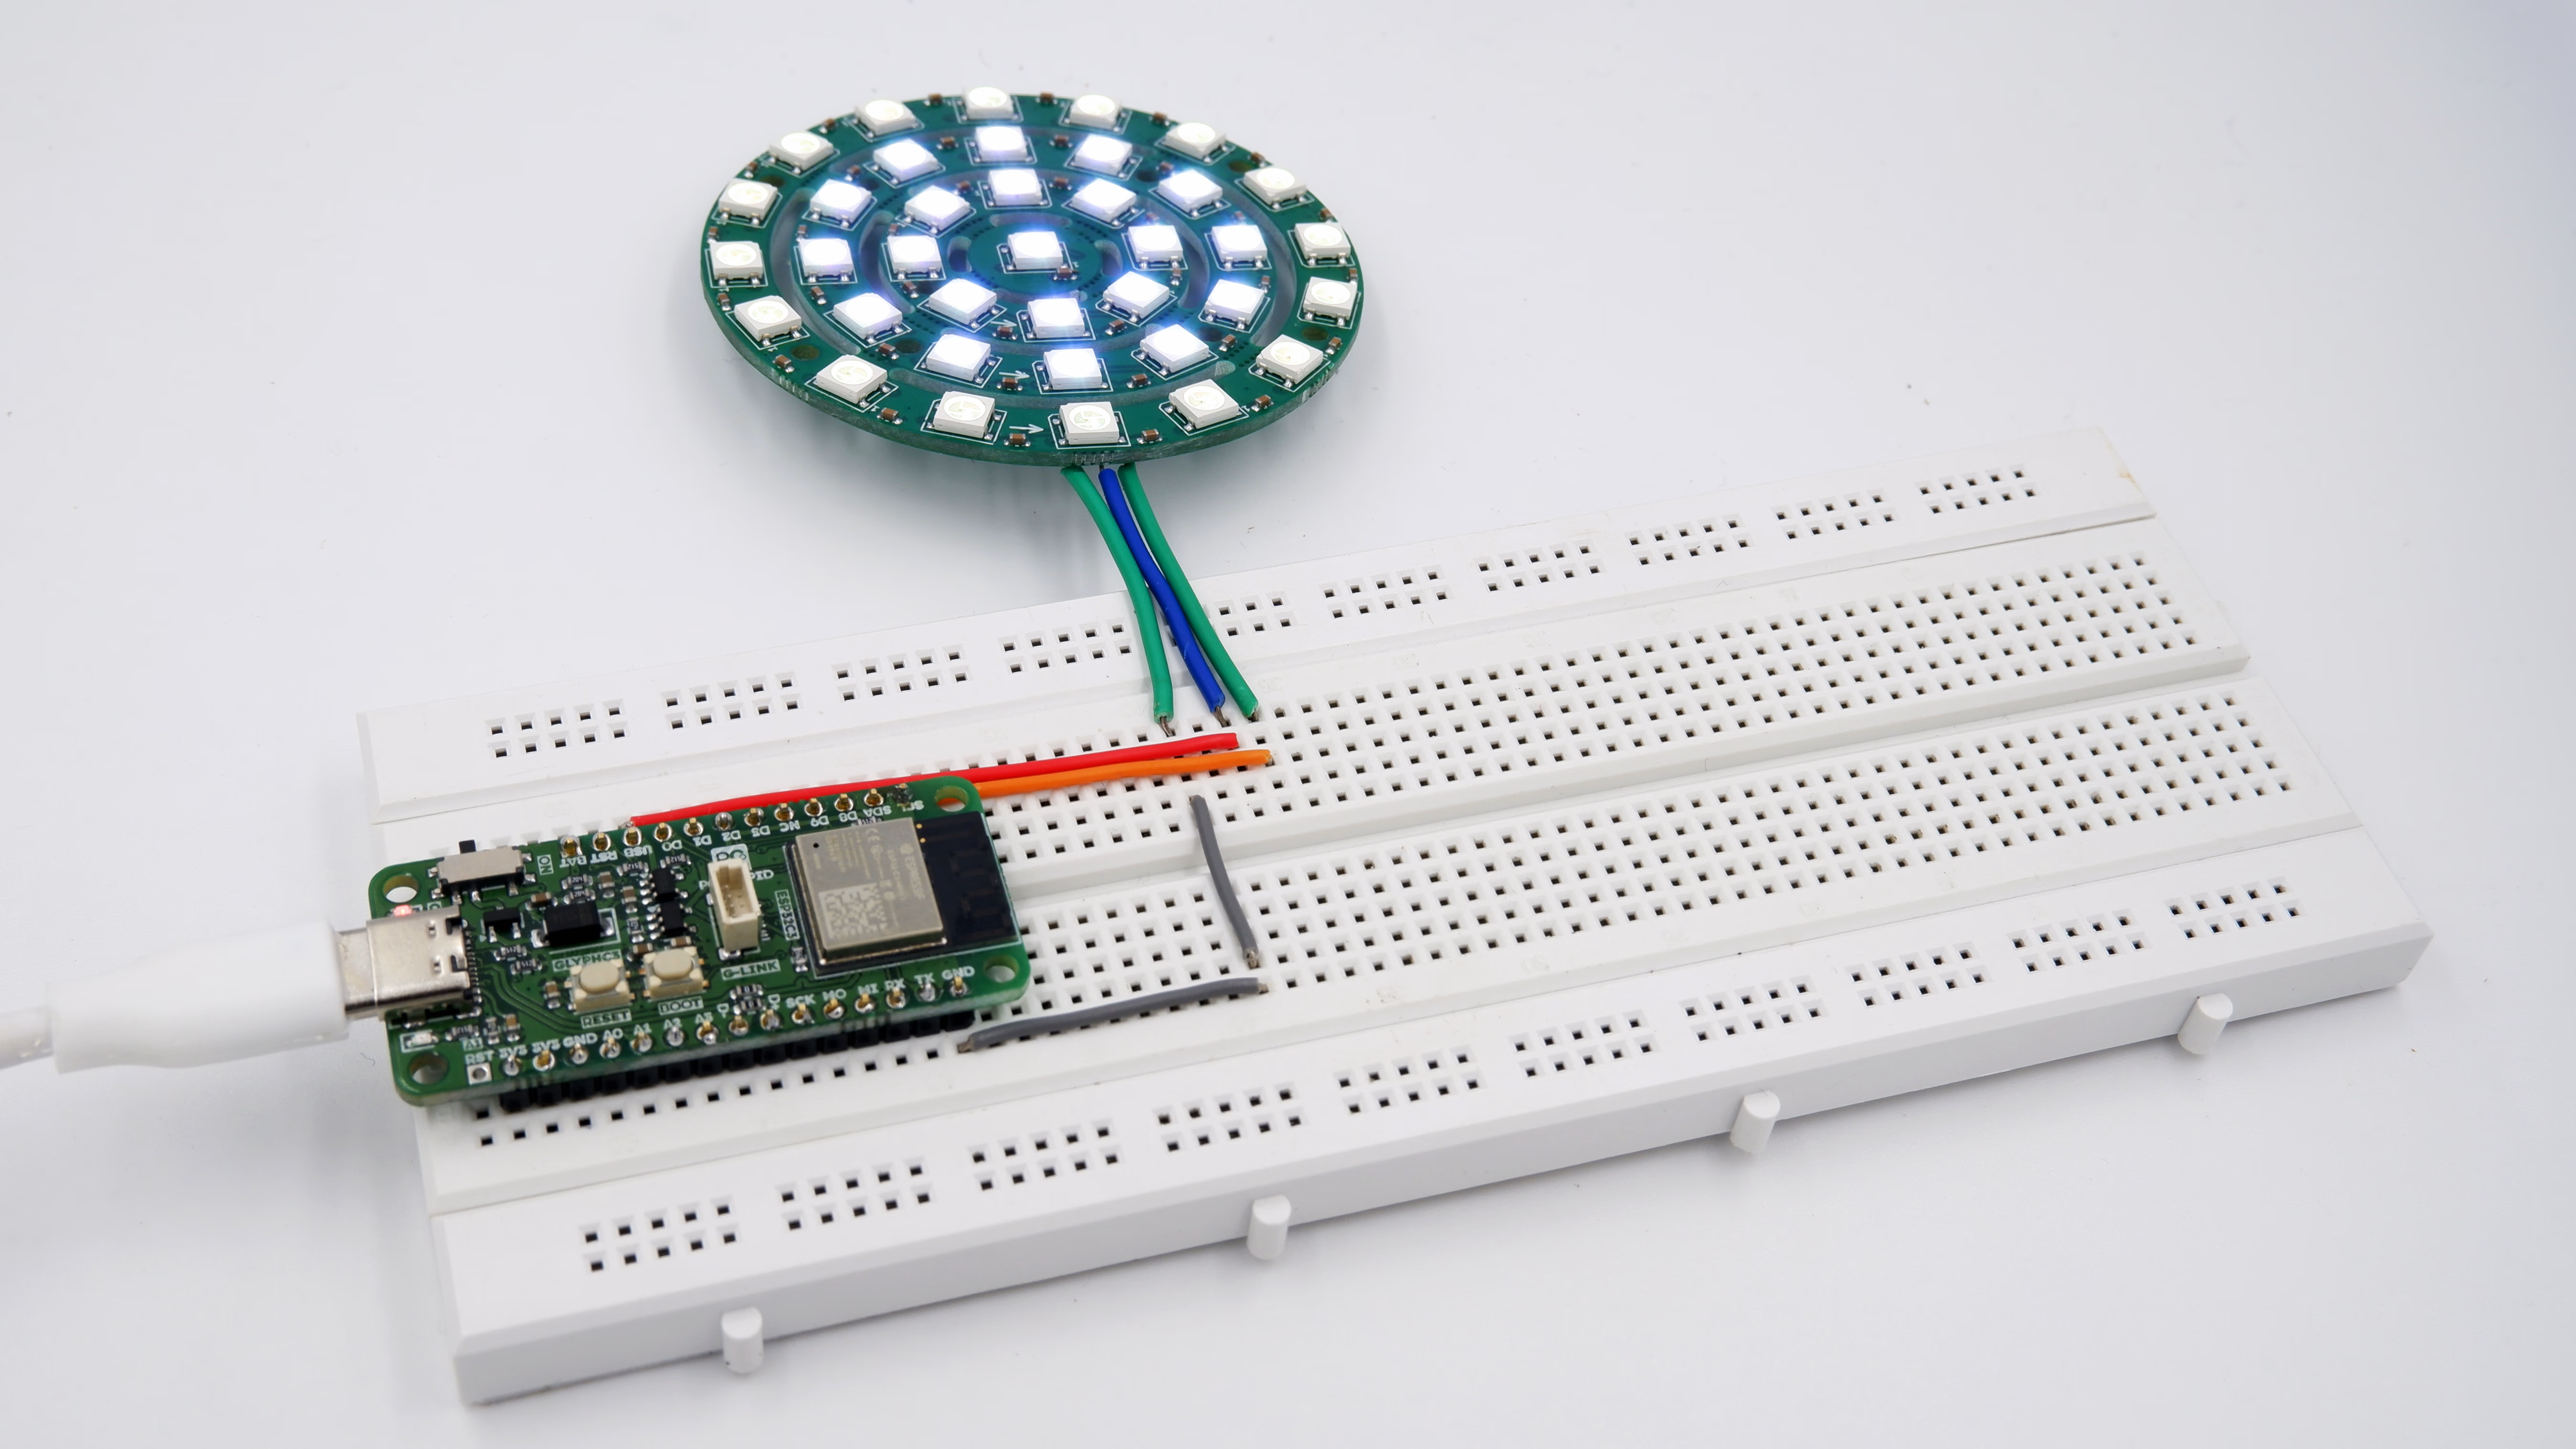
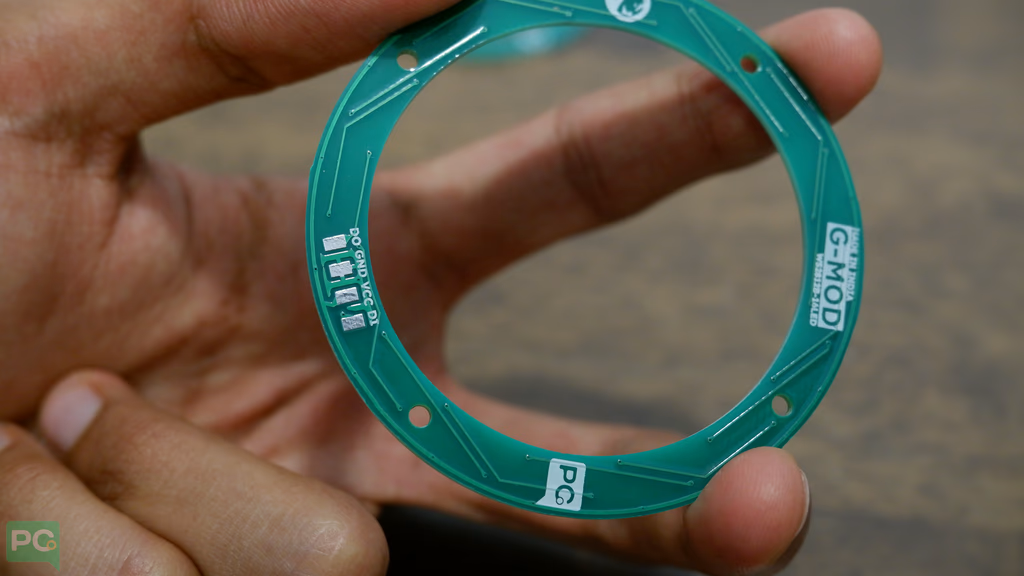
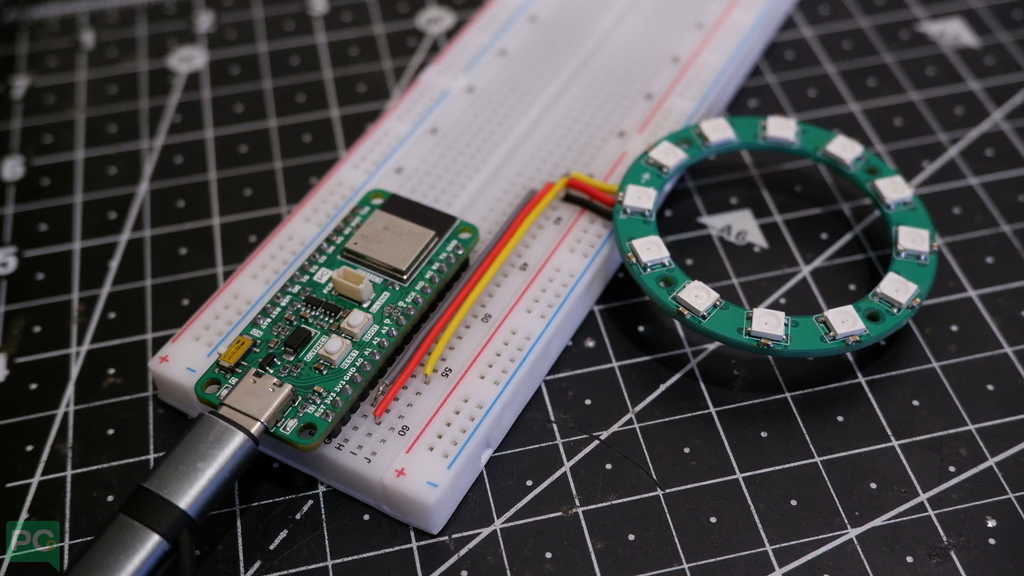
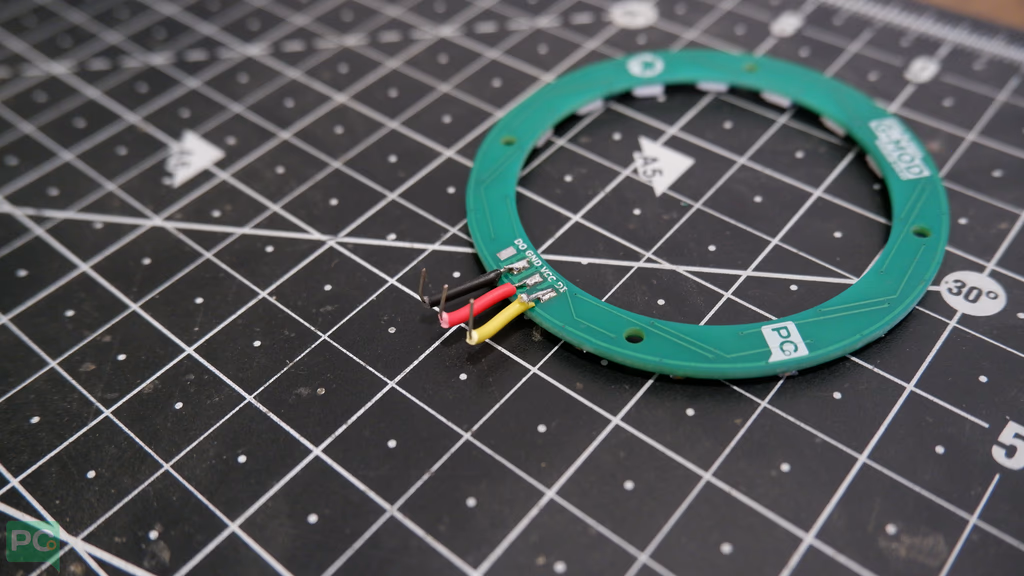
## Break Them! to 1, 8, 12 or 16 ring strip
The ring can be broken on and used as a individual ring setup and have the same circuit. Just change the number of led on
the code from 37 to the desired number.
### Code Setup
```cpp theme={null}
#include
#define PIN_WS2812B 7 // The ESP32 pin GPIO16 connected to WS2812B
#define NUM_PIXELS 16 // The number of LEDs (pixels) on WS2812B LED strip
Adafruit_NeoPixel ws2812b(NUM_PIXELS, PIN_WS2812B, NEO_GRB + NEO_KHZ800);
void setup() {
ws2812b.begin(); // initialize WS2812B strip object (REQUIRED)
}
void loop() {
ws2812b.clear(); // set all pixel colors to 'off'. It only takes effect if pixels.show() is called
// turn pixels to green one-by-one with delay between each pixel
for (int pixel = 0; pixel < NUM_PIXELS; pixel++) { // for each pixel
ws2812b.setPixelColor(pixel, ws2812b.Color(0, 255, 0)); // it only takes effect if pixels.show() is called
ws2812b.show(); // update to the WS2812B Led Strip
delay(500); // 500ms pause between each pixel
}
// turn off all pixels for two seconds
ws2812b.clear();
ws2812b.show(); // update to the WS2812B Led Strip
delay(2000); // 2 seconds off time
// turn on all pixels to red at the same time for two seconds
for (int pixel = 0; pixel < NUM_PIXELS; pixel++) { // for each pixel
ws2812b.setPixelColor(pixel, ws2812b.Color(255, 0, 0)); // it only takes effect if pixels.show() is called
}
ws2812b.show(); // update to the WS2812B Led Strip
delay(1000); // 1 second on time
// turn off all pixels for one seconds
ws2812b.clear();
ws2812b.show(); // update to the WS2812B Led Strip
delay(1000); // 1 second off time
}
```
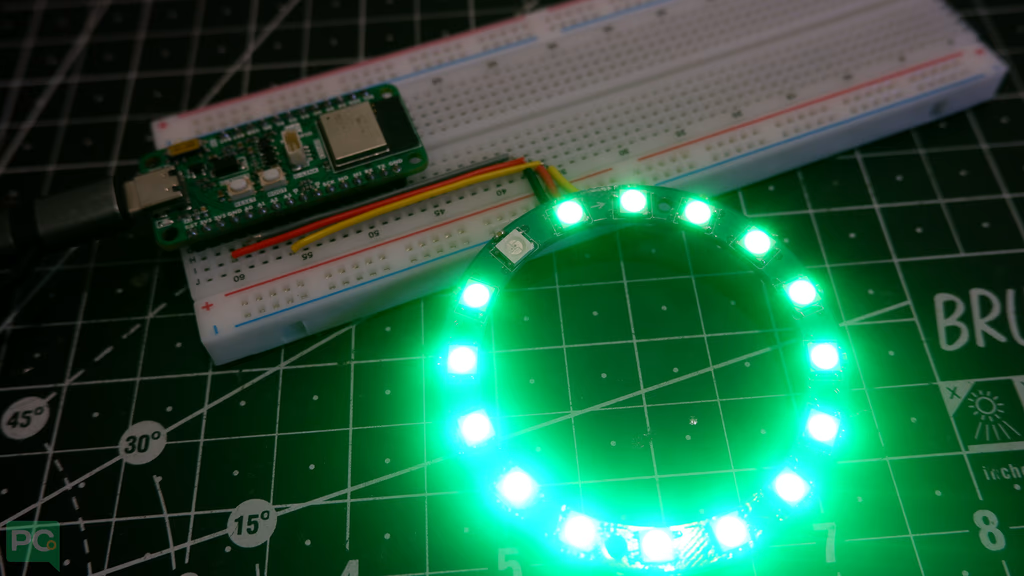
### Observe the Output
 }
}